Released : Wet And (Or) Tanned Skins For Genesis 2 (Commercial)
 V3Digitimes
Posts: 3,198
NOTE :
I had a deep look at wet and tanned skins in DS 4.9, and I wrote a patch in order to adjust all the skin tones to DS 49 (it was written on the time od DS4.8).
BEFORE this update, the initial conversion as well as all tan options are really to translucent, this is not good.
This will be solved using new optimised translucency settings.
Now there will be an automatic detection of your Daz Studio version (invisible from the user side), and optimised scattering settings will be applied at the conversion moment (and kept all the way for all the presets).
I post this in the top topic of this thread too. I should submit very soon the update.
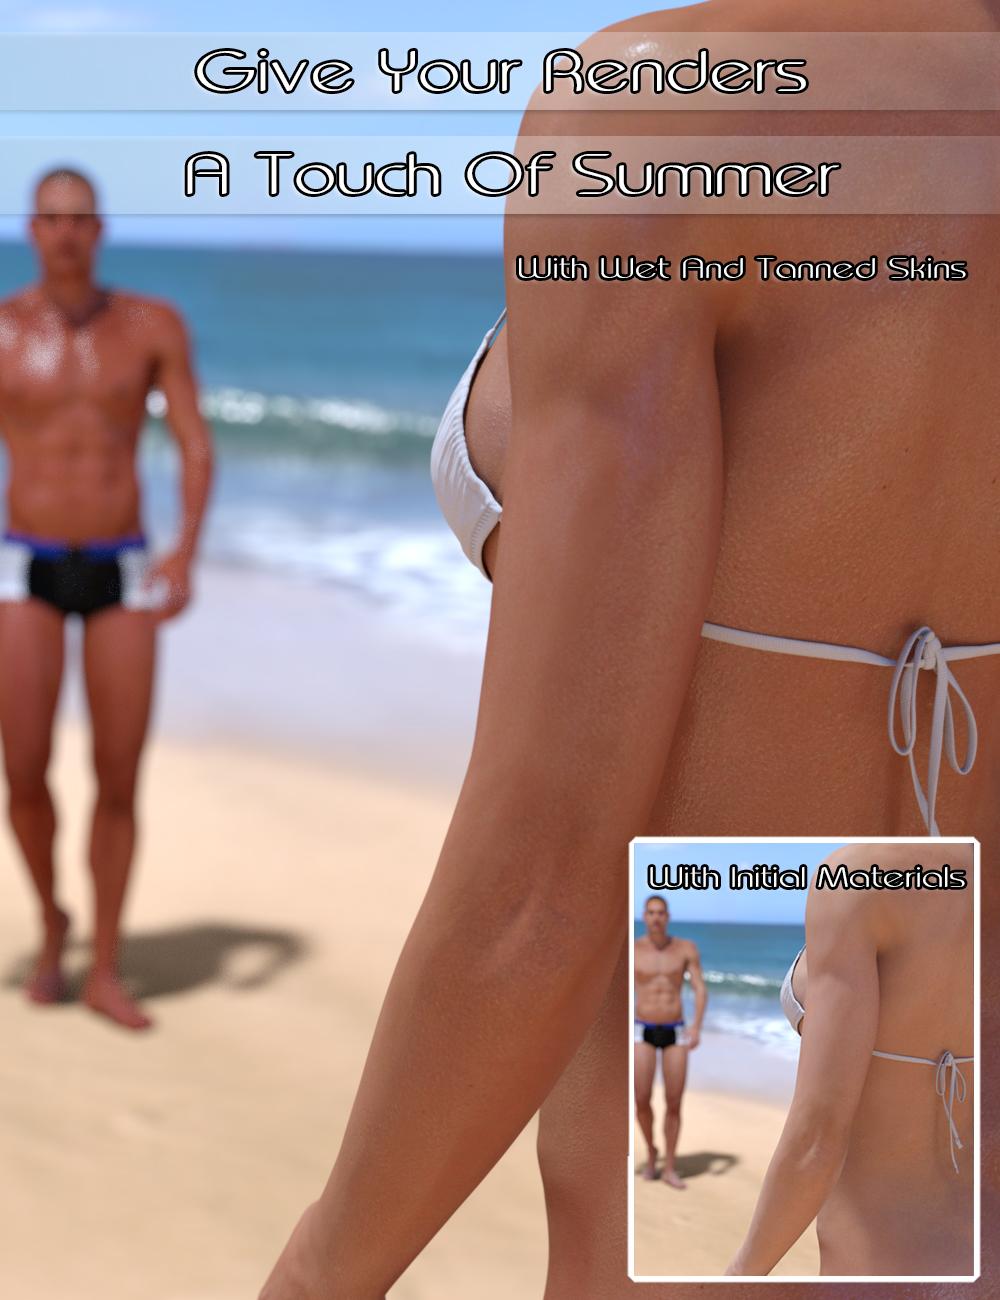
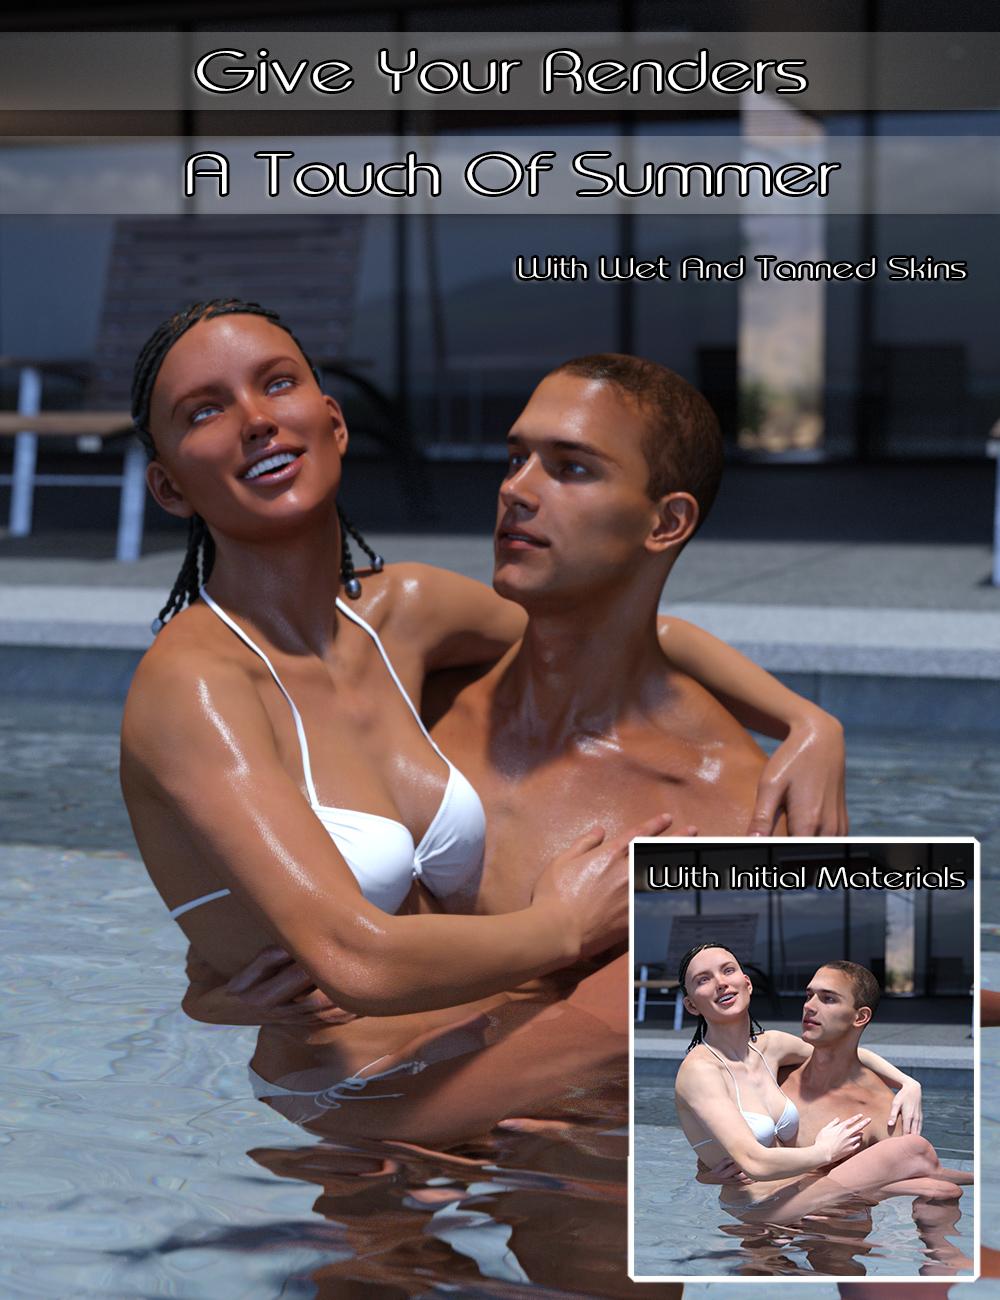
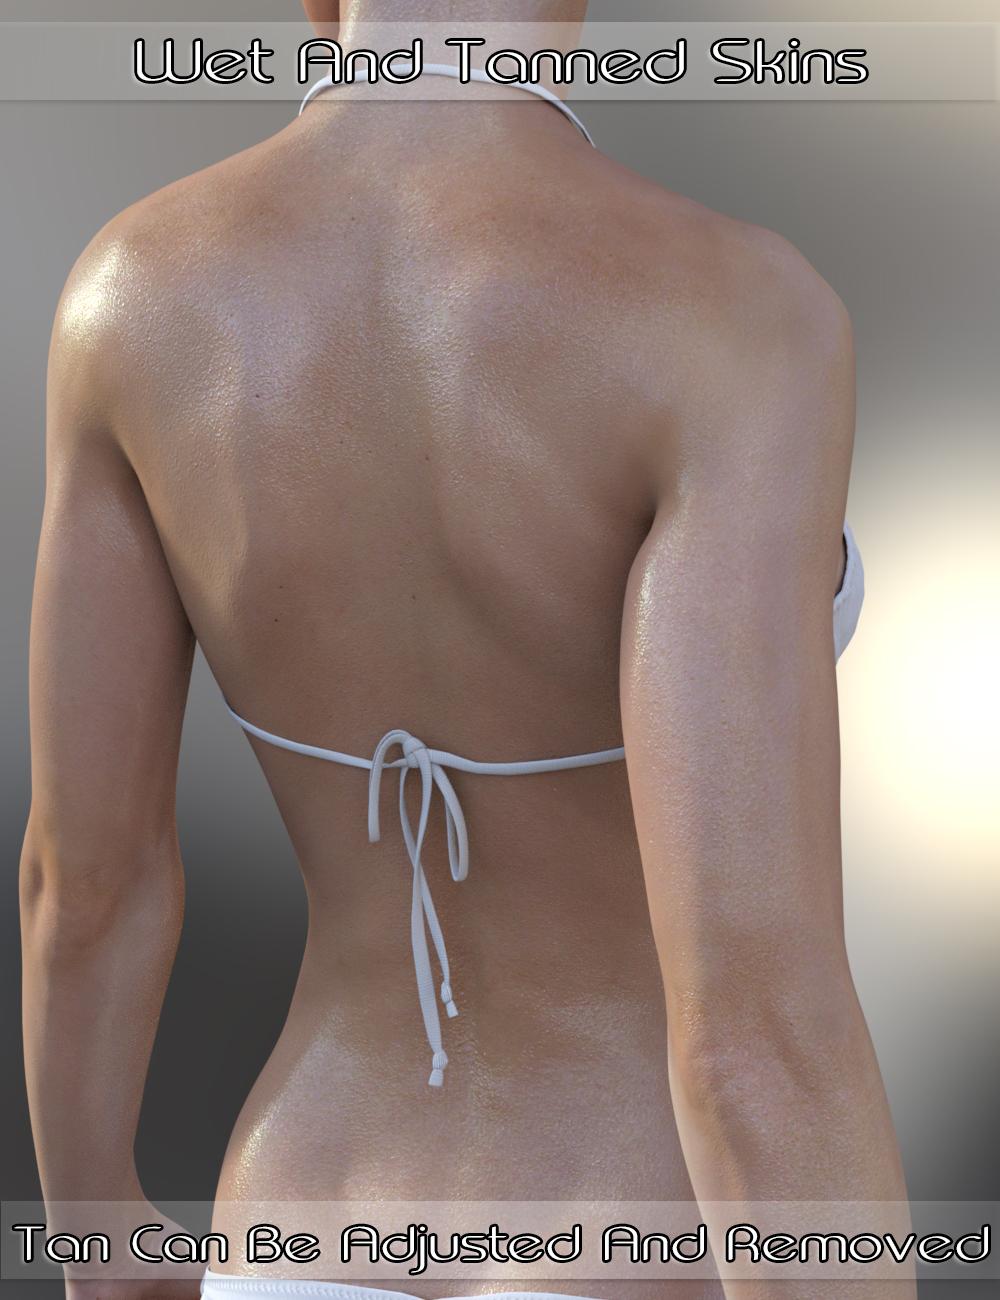
Wet And Tanned Skins For Genesis 2 are scripts and tools allowing you to turn any Genesis 2 figure you own into a wet and/or tanned character for IRay renders and adjust wetness look and tan in a few clicks.
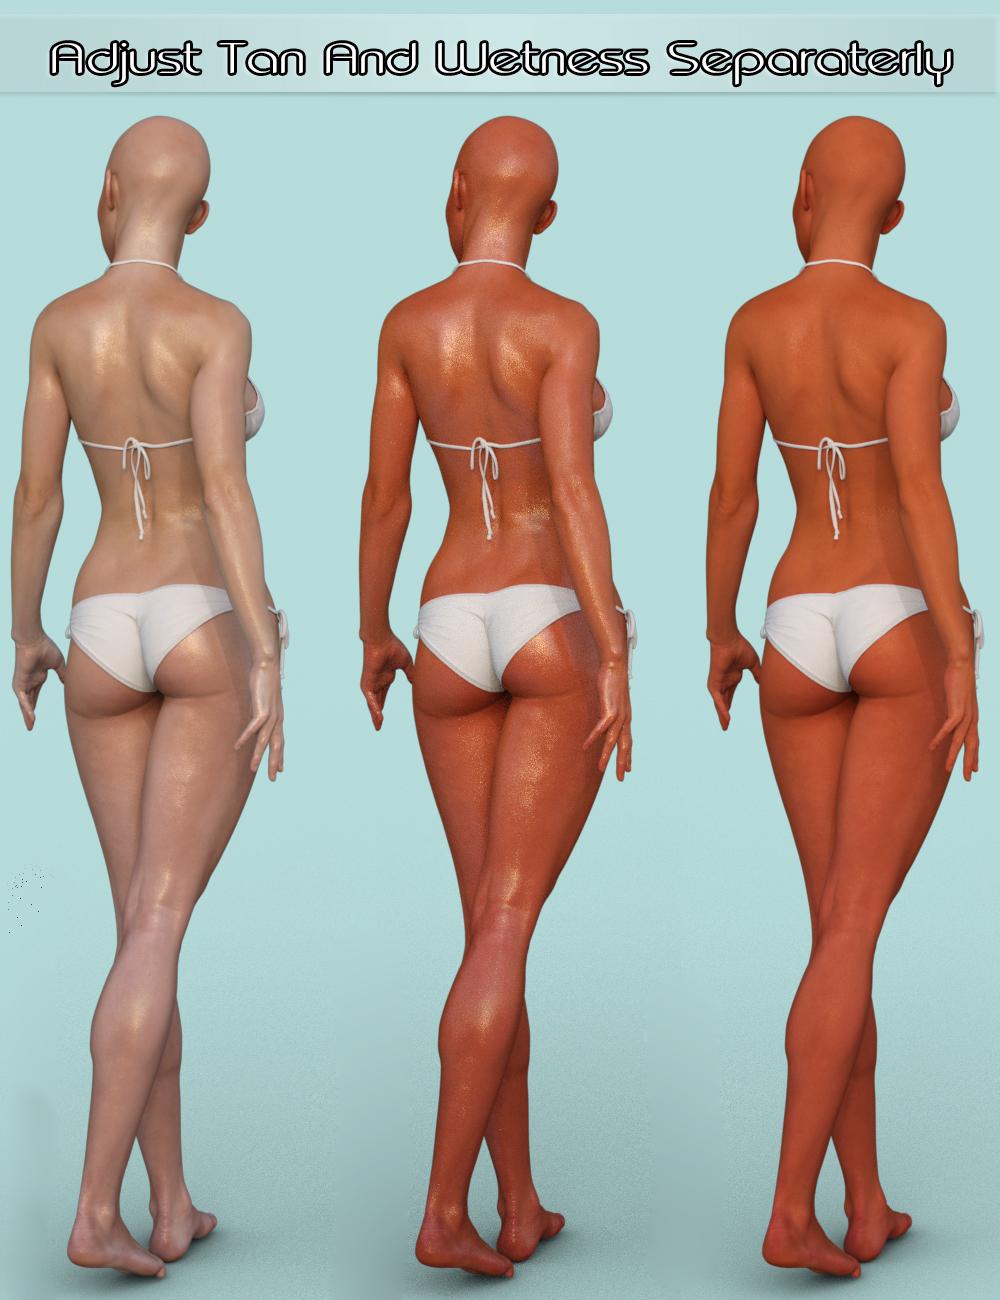
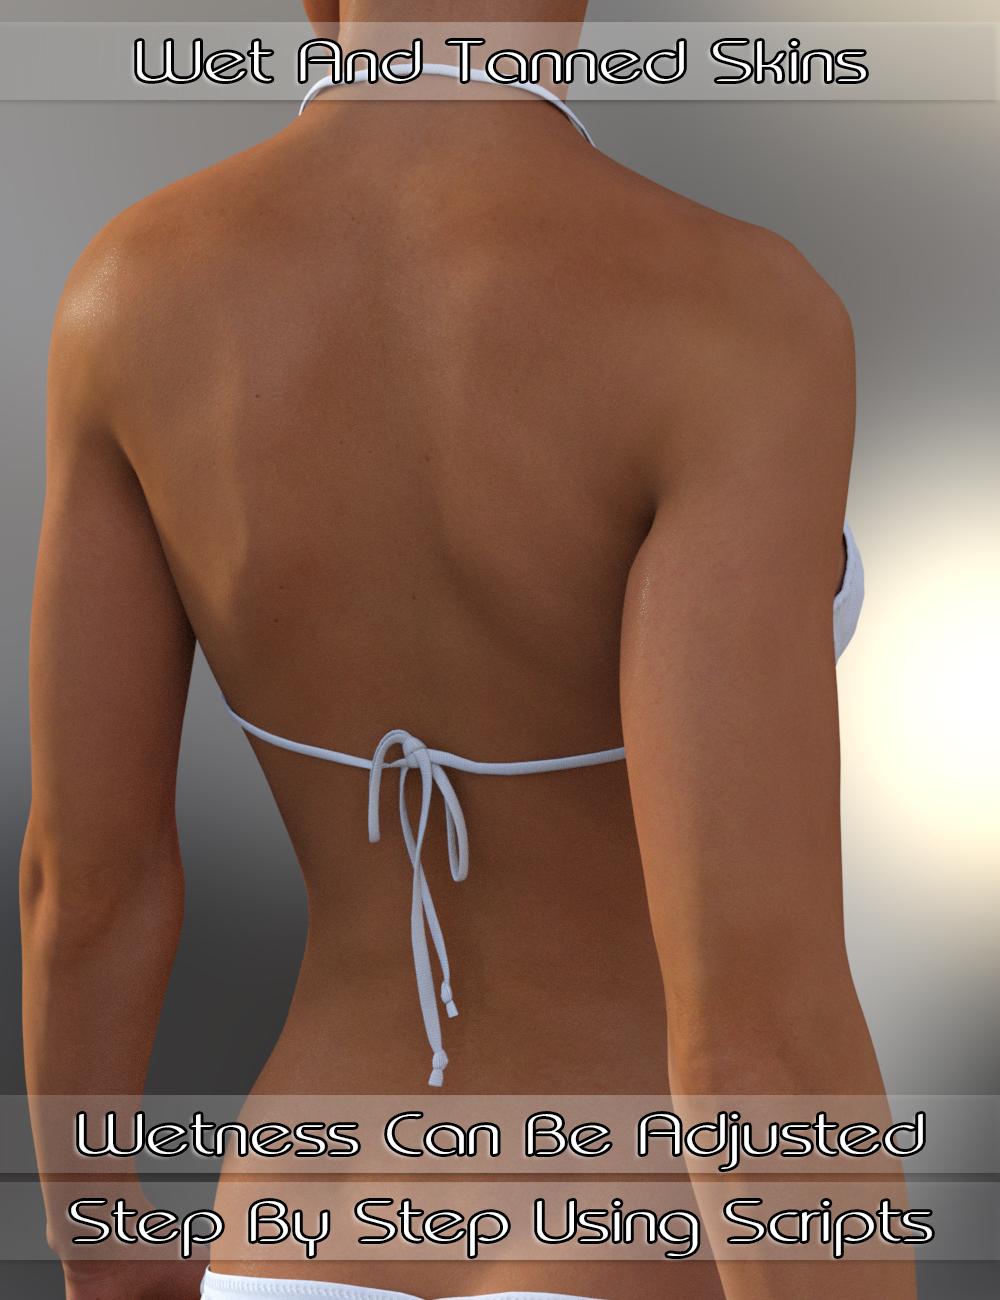
Initially loading with a wet and tanned look when applying the initial material, you can pick up between more than 20 tan tones (and even remove tan if only wetness is required), and even adjust tan yourself in the surface tab using "Hue" and "Saturation" dials for the skin. Wet look is independent from tan and you can use the smart scripts in order to increase and decrease the Wet look, from dry skins to totally wet skins.
The smart scripts for wet look will allow you to increase and decrease the wet look step by step, each time you apply them (you can apply them several times). They are iterative meaning that they read the key dials for wetness and modify them proportionally to the current value they have on your figure when you double click them. But don't worry about that. Just double click "increase" files to increase, or double click "decrease" files to decrease, until the skin is exactly how you imagined it. A pdf documentation written in several parts for beginners and advanced users, can be loaded directly from the content library.
From the user point of view, everything behaves as "material presets" meaning that you just select the figure in your scene, and double click on the scripts, they will modify all and only the required skins properties for you. The same tools come for lips only and Nails only, since lips and nails can behave differently from the rest of the skin body.
Wet and tanned skins can be applied on any Genesis 2 figure, male of female and will preserve the initial texture maps they come with.
Wet and Tanned Skins will be available Stand Alone and also in the "So Wet! Bundle" containing both 'Wet and Tanned Skins" and "Drips and Drops For Genesis 2 Females".
Questions, remarks, comments, feedback, everything you want to know or say about this, you can use this thread! Thanks!
Various Images :



Comments
Looks amazing! Any chance of including tan lines as part of the script?
That's exactly what I've been needing: A thin, oil-like sheen.
Is it possible to create a shader like that? It would be very useful to have that look for things like boat hulls and shark dorsal fins, so that they look like they've been submerged in water.
Well.. I had not tought about that! What I can think now is that of the 2 elements driving the tan, only one of them can be mapped. Tan here relies on Hue and Saturation change of initial map. Hue change cannot be mapped but saturation change can be mapped (even if the map for saturation is in the hidden parameters, users can access it). Well in brief, I think (I should test) there could be tanned lines, but the "white" skin of the pale area of the tan line would have a slight hue change compared with the initial texture map. The tan lines would be visible only with skin saturation difference, will this be enough? This must be tested.
What I don't like with tan maps is that they are UV set dependent, I tend to make things "for all figures", this is probably with I forgot this map issue.. If I find a tan line texture map for G2, I'll try, and I'll let you know here if and how it works.
I must confess I have not tried on other types of surfaces, but this should be possible. Basically the user interface files are scripts behaving as material presets, but these scripts call a hand made "shader mixer" shader. Once the shader is on a human body, you can save one of the surfaces as a shader and re-use it as a standard shader, using the famous "CTRL + double click / images : ignore" to ignore maps. BUT some of the maps of the new surfaces must be placed to other surface parameters "by the user" (this is another part of what the scripts are doing). If you need some help to use it on shark dorsals for instance, then PM me with an image, and I'll give you the recipes of which map is sent where and what parameters can be changed to enhance the effect. Some tips in the pdf file can already help.
Globally, regarding the restult "realism" for sharks or boats, my feeling is that the efficiency of the result will depend on the shape of the object and the initial texture maps (diffuse/bump/specular) used. Well and of the light of course xD
Thank you both for your interest,
Let me know if something was not clear, there is a lot of noise around me while I'm answering this, I'm not sure I'm as clear as I could be!
no i hate tan lines!!!!! well at least make it optional. lol nice set!
Great wet look! I agree with Xenomorphine.
Agree, would be great to have tan lines.
We struggle not to have tan lines in real life, and we struggle to have some in 3D! Well it seems that "tan lines" term comes back pretty often... Maybe I should consider this. I'm thinking that a "tan line injector" might do the trick without changing anything in the product, but I cannot warranty anything as long as I have not tested. I add the test in my long long to do list.
Thanks a lot!
I recognise this is an interesting idea, now I regret I did not think about it earlier...
Tan lines I'm not bothered about, but the wetness and tan shaders for iRay ... that's going to be an Instant Buy from me! Nice job.
Thanks a lot acanthis !
Take my money now damn you!
Seriously though, I think any vendor that decided to concentrate on Iray optimized skin textures with shaders for backlogged characters would do well with it, depending on the quality.
I know I would be looking to have Iray skin textures to use on my extensive V6/Genesis 2 library and extend its longevity, that is for certain. Eventually I am going to learn to make my own.
Thanks a lot.
Well it is "coming soon"...
Your remark concerning skins shaders is right. There are today two technical challenges in shader making for skin. First I think the iray uber as provided, even if already good, is not optimal for skin material. Some key elements are missing such as the management of various levels of SSS/Specular, and the specular model included itself is maybe not the most efficient one. This might be improved in shader mixer, but learning shader mixer for Iray is long. The wet and tanned skins come from the shader mixer, and allowed me to discover the second challenge (which was a tricky part of the job). The second challenge is the map transfer. The shader developpers are used to the fact, in 3delight, that maps are transfer by variable name identification, meaning that if you decide to plugg the diffuse map in the specular color, you can do it by renaming the variable specular color by diffuse color. This is not the case any more in iray, some of the maps will be plugged the right place this way, but many other won't. A script must manage which map is taken from which variable to go where. This is why it is so difficult to make "shaders only" respecting the original texture set, if you planned to do more than transfer diffuse/bump. So 2 challenges : new optimised shader brickyard, and scripts to handle the maps applicated to the right places. The second one is ok for me now (it was a big part of the job of wet and tanned skins), but the first one, I don't know when I'll be solid enough in the shader mixer, or with mdl programming to obtain something "outstanding".
I'll see when I'll feel able to do that, I have so many projects in my head that I don't really plan. It could be the next one, or not. For now I have not forgotten the older generations and I'm finishing right now something for them too. But sshh this is a secret..
Hello! I just realised I had shown a wet and not tanned, and a not wet and tanned skins, and I have forgotten to show an "not wet and not tanned" skin (which does not correspond to the general dry skin you have). In order to show 2 different levels of "wet look" on figures, here are more renders of the wet and tanned skins. This time they use the "Drips and Drops" above them. In both the tan was removed using the "Remove Tan" (actually it zeroes tan). For the first one I think I used "decrease glossiness by small steps" once or twice, and for second one, the wetness was decreased by clicking "decrease glossiness by large steps", probably twice or more, and "decrease glossiness by small steps" (I don't remember the exact numer of time, these have been made a while ago now).
Oh, looks perfect for all those Saint Sebastian renders....
Looking good altogether - hope to see it in store this month then?
I don't want to sound like a broken record... but I NEED... NOW!
/cough
:D
OMG! A broken record.. or a time loop?
Just to say : It's released today!!!
Just to confirm this/these sets are for use with 3Delight, not Iray.??
Cheers,
S.K.
No, this is the contrary : these work only in Iray. The scripts apply Iray Hand Made Shaders (shader mixer) on the skin, check the existence or not of specular maps, and do some maps transfer to various places in the surface. Then apply gloss parametersdepending on the presence or not of certain maps.
For 3Delight, in general, I use "Amazing Skins" for the tan and I push the limits of some values for the wetness.
Woot, it's out! That's an immediate... (checks budget) ... into wishlist... sigh.
(Two more weeks, then the drought ends. Stupid housing market. nnngh)
Excellent..
Bundle purchase time ;)
S.K.
Thanks a lot! Don't worry, there are always discounts, you'll surely find another opportunity when it will be discounted again.
How do I remove it, please? Iray rendering not working, and now 3delight is white.
Iray rendering not working? It has been tested by 7 people, nobody ever had an issue! 3Delight white, well this is normal, this is not made for 3delight, but nobody ever had an issue on Iray. Could you tell me what is your daz studio version maybe it could come from that. (Edit : I just tested on two personal "clean" computers which had never saw the product before, it works for both of them - including my veeeeeery old one which is CPU only ).
Have messaged you separately. It is probably me. I frequently have problems with Iray, mainly because I don't have a clue how to use it properly. Sometimes it works a dream and others not. I can't see what is different between the settings, but something must be. I knew it wasn't for 3Delight, but I couldn't see a 'remove shader option, which was the thrust of my posting. How do I reverse the process of applying the shader? I will keep trying to do things in Iray, because I love the possible effects, but at present I have not a clue what I am doing wrong (or right, if it comes to it). I may appear to know and be experienced, but I am typical of many men of my age. I rarely read the manuals, even when I can find them.....
This is NOT a criticism f the programs.
Just found an undeleted Iray file. Section exhibiting problem attached. There is a script, but I clicked on it with no effect - perhaps I need to do something elsewhere?
Thanks! In order to reverse the process of applying the shader, you can make the famous "CTRL+Z" as long as the script is in the undo stack. Otherwise, when this is not anymore in the undo stack, the best thing is to reload the original material. You can also select all your surfaces and browse to the orginal file for the shader you worked with (for instance AoA).
This is really weird. I would say the saturation of the skin falled at 0. You have lost the crodd map (no this is not sci fi even if it sound like that). This can happen only on two circumstances : either you loaded some other files of the product before applying the main file or you "accidentally" (don't ask me how) lost the "crodd" map for the surface settings. The crodd map is a hidden map loaded in the runtime by a shader definition asset called by the material which is itself called by the script, you can see it when you "display the hidden properties" of your surfaces just below the diffuse parameters. If the "crodd" image map, which is a pure red map, is empty, it justifies zero saturation, so a black and white skin (grey levels). This can happen if you began by double clicking other files before the main file. And you cannot repair it by applying the main script.
Since you have kept an undeleted file, you could - by scientific curiosity, if you have time, and if you feel like of course - test this shader (the one attached here) to the figure which is "white". I built it as a patch in case you had lost you "crodd" map. This is a shader which will change nothing to your settings except loading the crodd map. For this, place this shader in a content directory, in your scene go into surface tab, select a skins surface (or all skins surfaces if you want) and double click this shader. Since this is a shader you have to select surfaces you want to apply it on, and not the figure itself.
PS : if you want to place this shader directly in the product content folder so that you can access it from your user interface, you can right click on a file of the place you want it to be, and make "browse to file location". Then you have the folder where you can place this partial shader. If you tested to use it, let me know the result. ;) Have a nice evening!
Sadly, the only thing I kept was the image rendered.....
If this happens again, I'll try the solution. I had gone way past the ctrl-z answer!
As it happens, even using 3-Delight and not your program I am finding strange things in renders - liek the complete disappearance of the skins of characters so that I end up with weird wigs and eyes floating in mid air.......
Many thanks,
Malcolm
LOL, that was very witty; I feel your pain though.
You're really welcome, and ok no issue! If you are too far to CTRL+Z, then the best is reload the original material of the figure from your smart content or content library. But concerning what you say about 3Delight on your Daz Studio.. I don't want to worry you, but 3Delight issues such as these ones, with "classical DS shaders in 3Delight", this may mean that something is "wrong" in your DS (this happens), or that your computer is veeery old (well, lol, this happens too). The first issue, it can be solved by the DS upgrades. The second one, well costs more to be solved. But if your 3Delight skins are transparent and should not be, it means that 3delight "background process" has not been done correctly or had not the time to be done.
Now to come back to Wet and Tanned, this recipe can help you are important if you are not a very advanced user :
1. Your figure must not be parented to something else (otherwise the surfaces won't be read, I'm trying to work on that), it's something I discovered recently.
2. You select your figure and double click the main file first.
3. Tan : Once the main file has done all the hard job it's supposed to do in the background, then you can load another tan (tans 02, 03 and 09 are my favorites because more subtle), and
4. Wet look : you can decrease gloss (go to folder 02 and double click : WT Decrease All Gloss effects By Large Steps or WT Decrease All Gloss effects By Small Steps), because default gloss has been set for VERY VERY wet skins. In general, you will need something less wet. You can double click them until your wet effect is decreased enough since they are "proportional" scripts.
5. Then render, or then play if you prefer: increase or decrease wet look, increase or decrase bump, change tan....
I hope you'll have fun!