Fantasy Skins For Genesis 8 [Commercial]
 V3Digitimes
Posts: 3,198
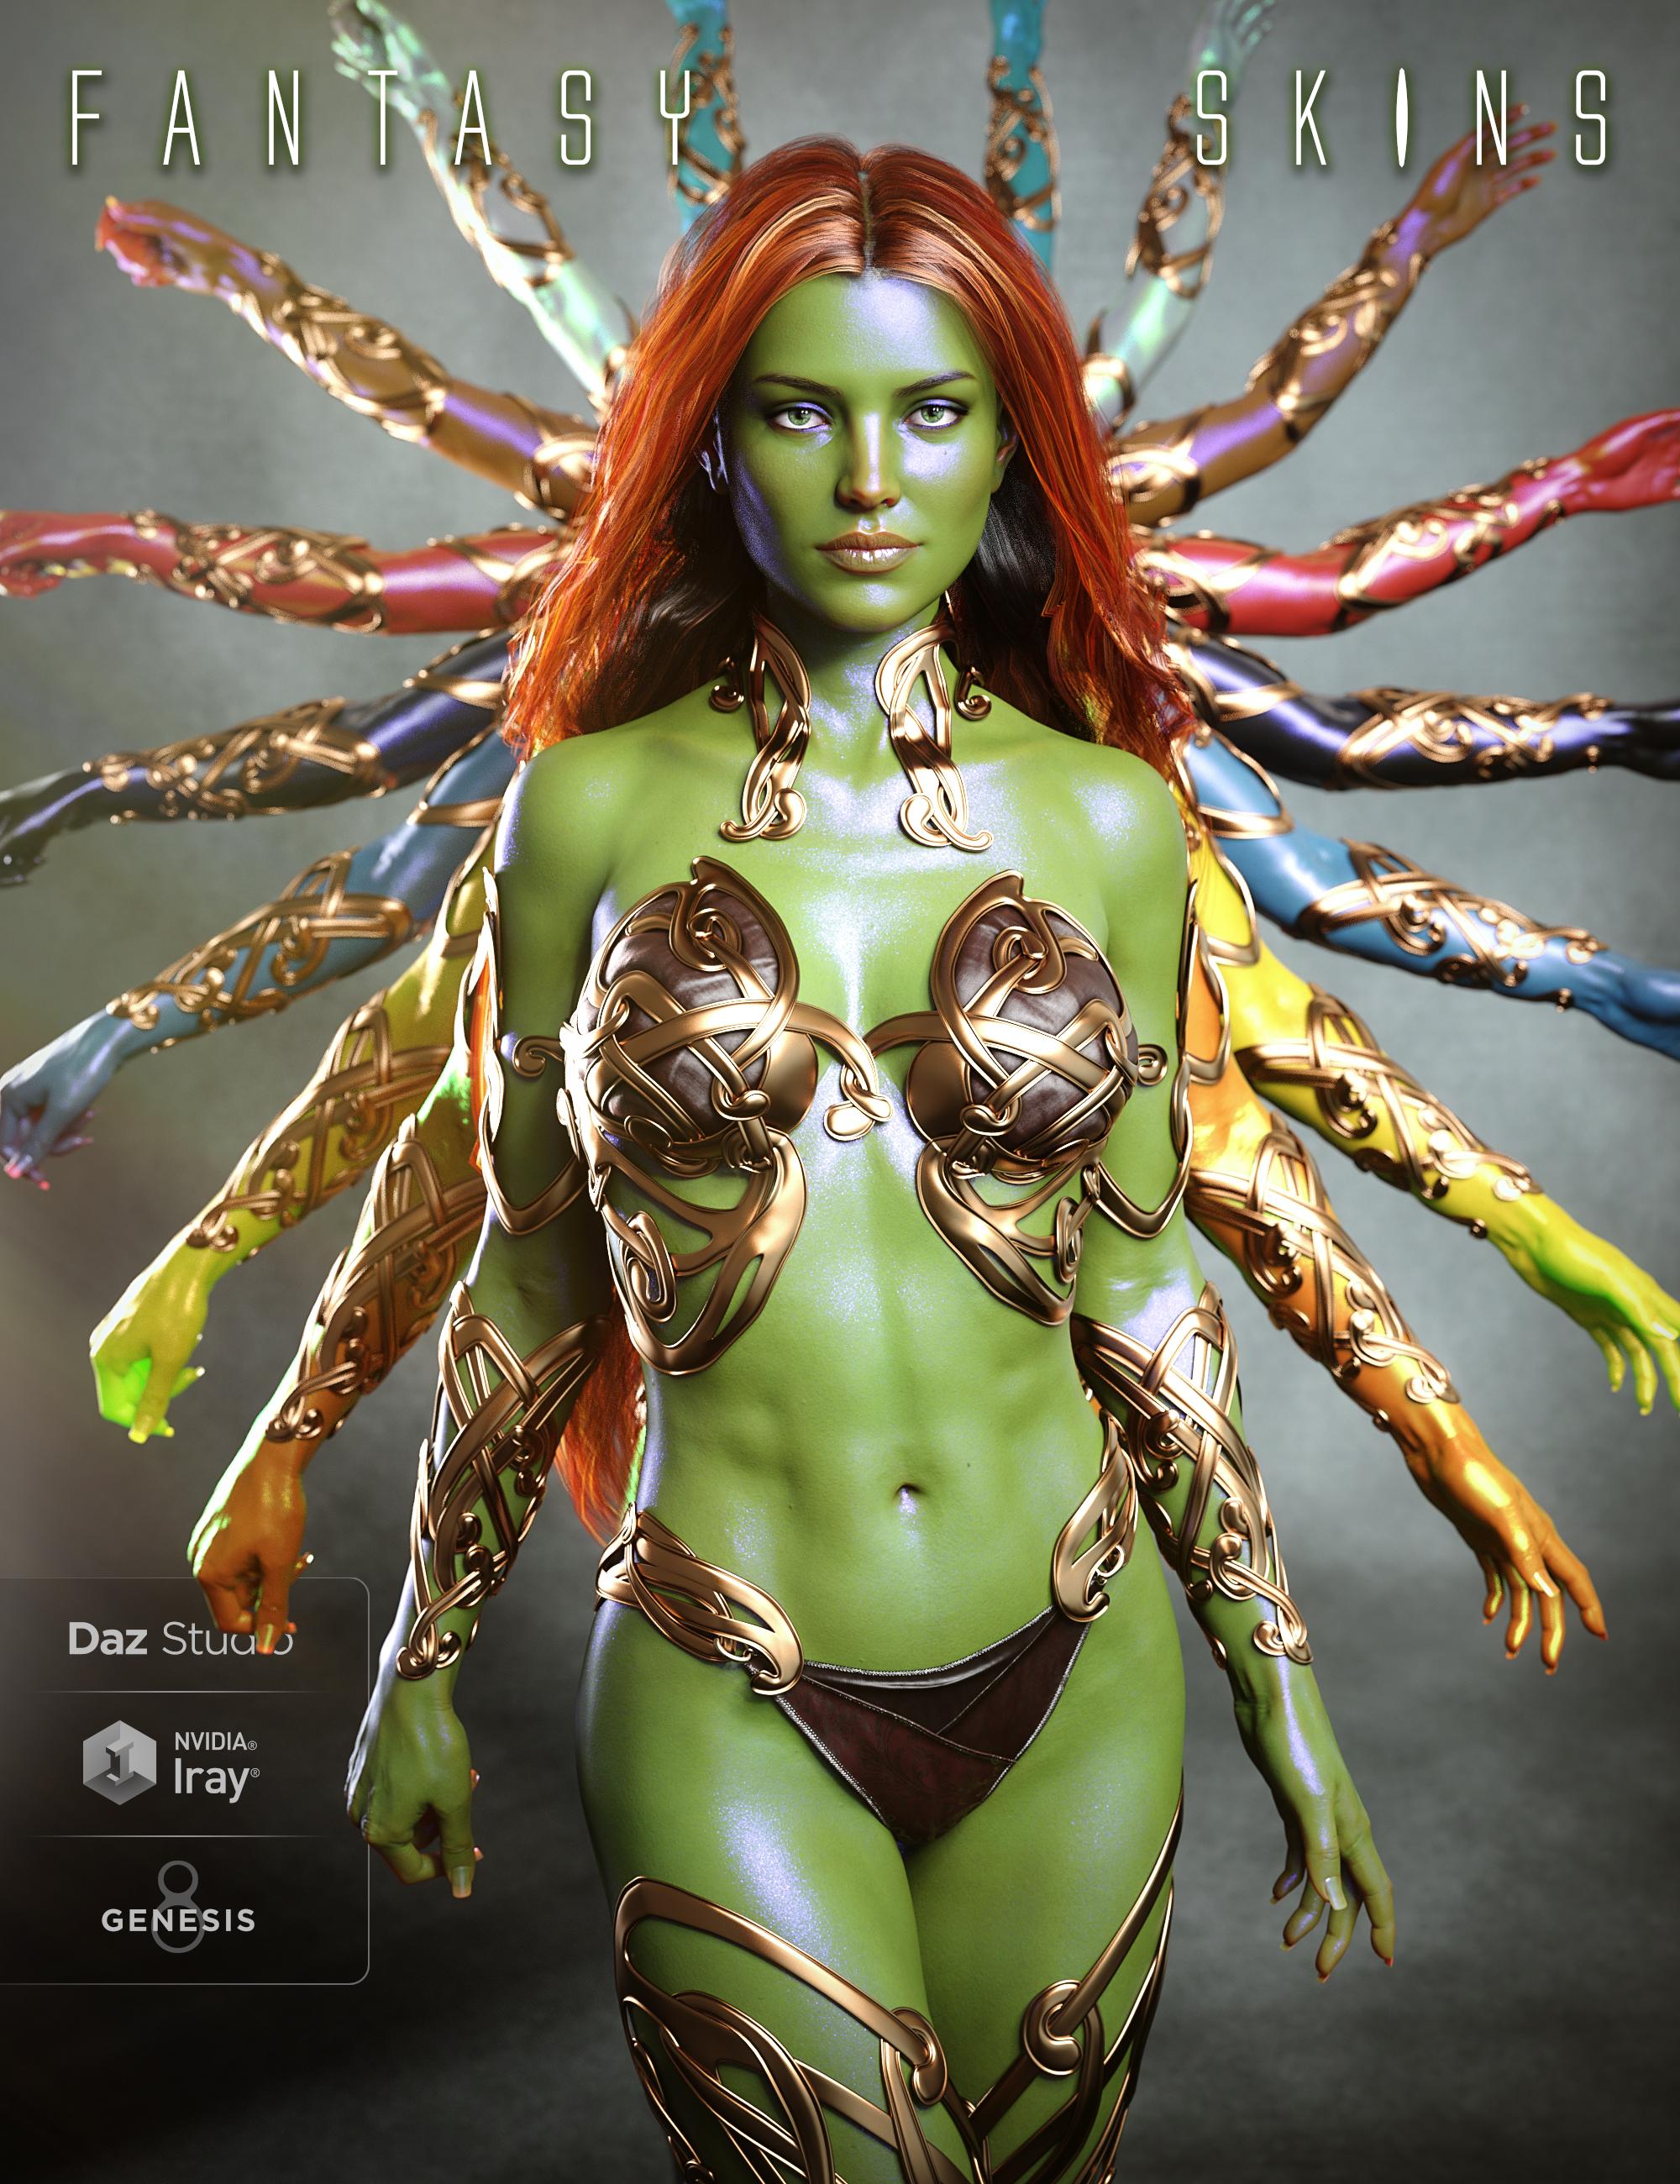
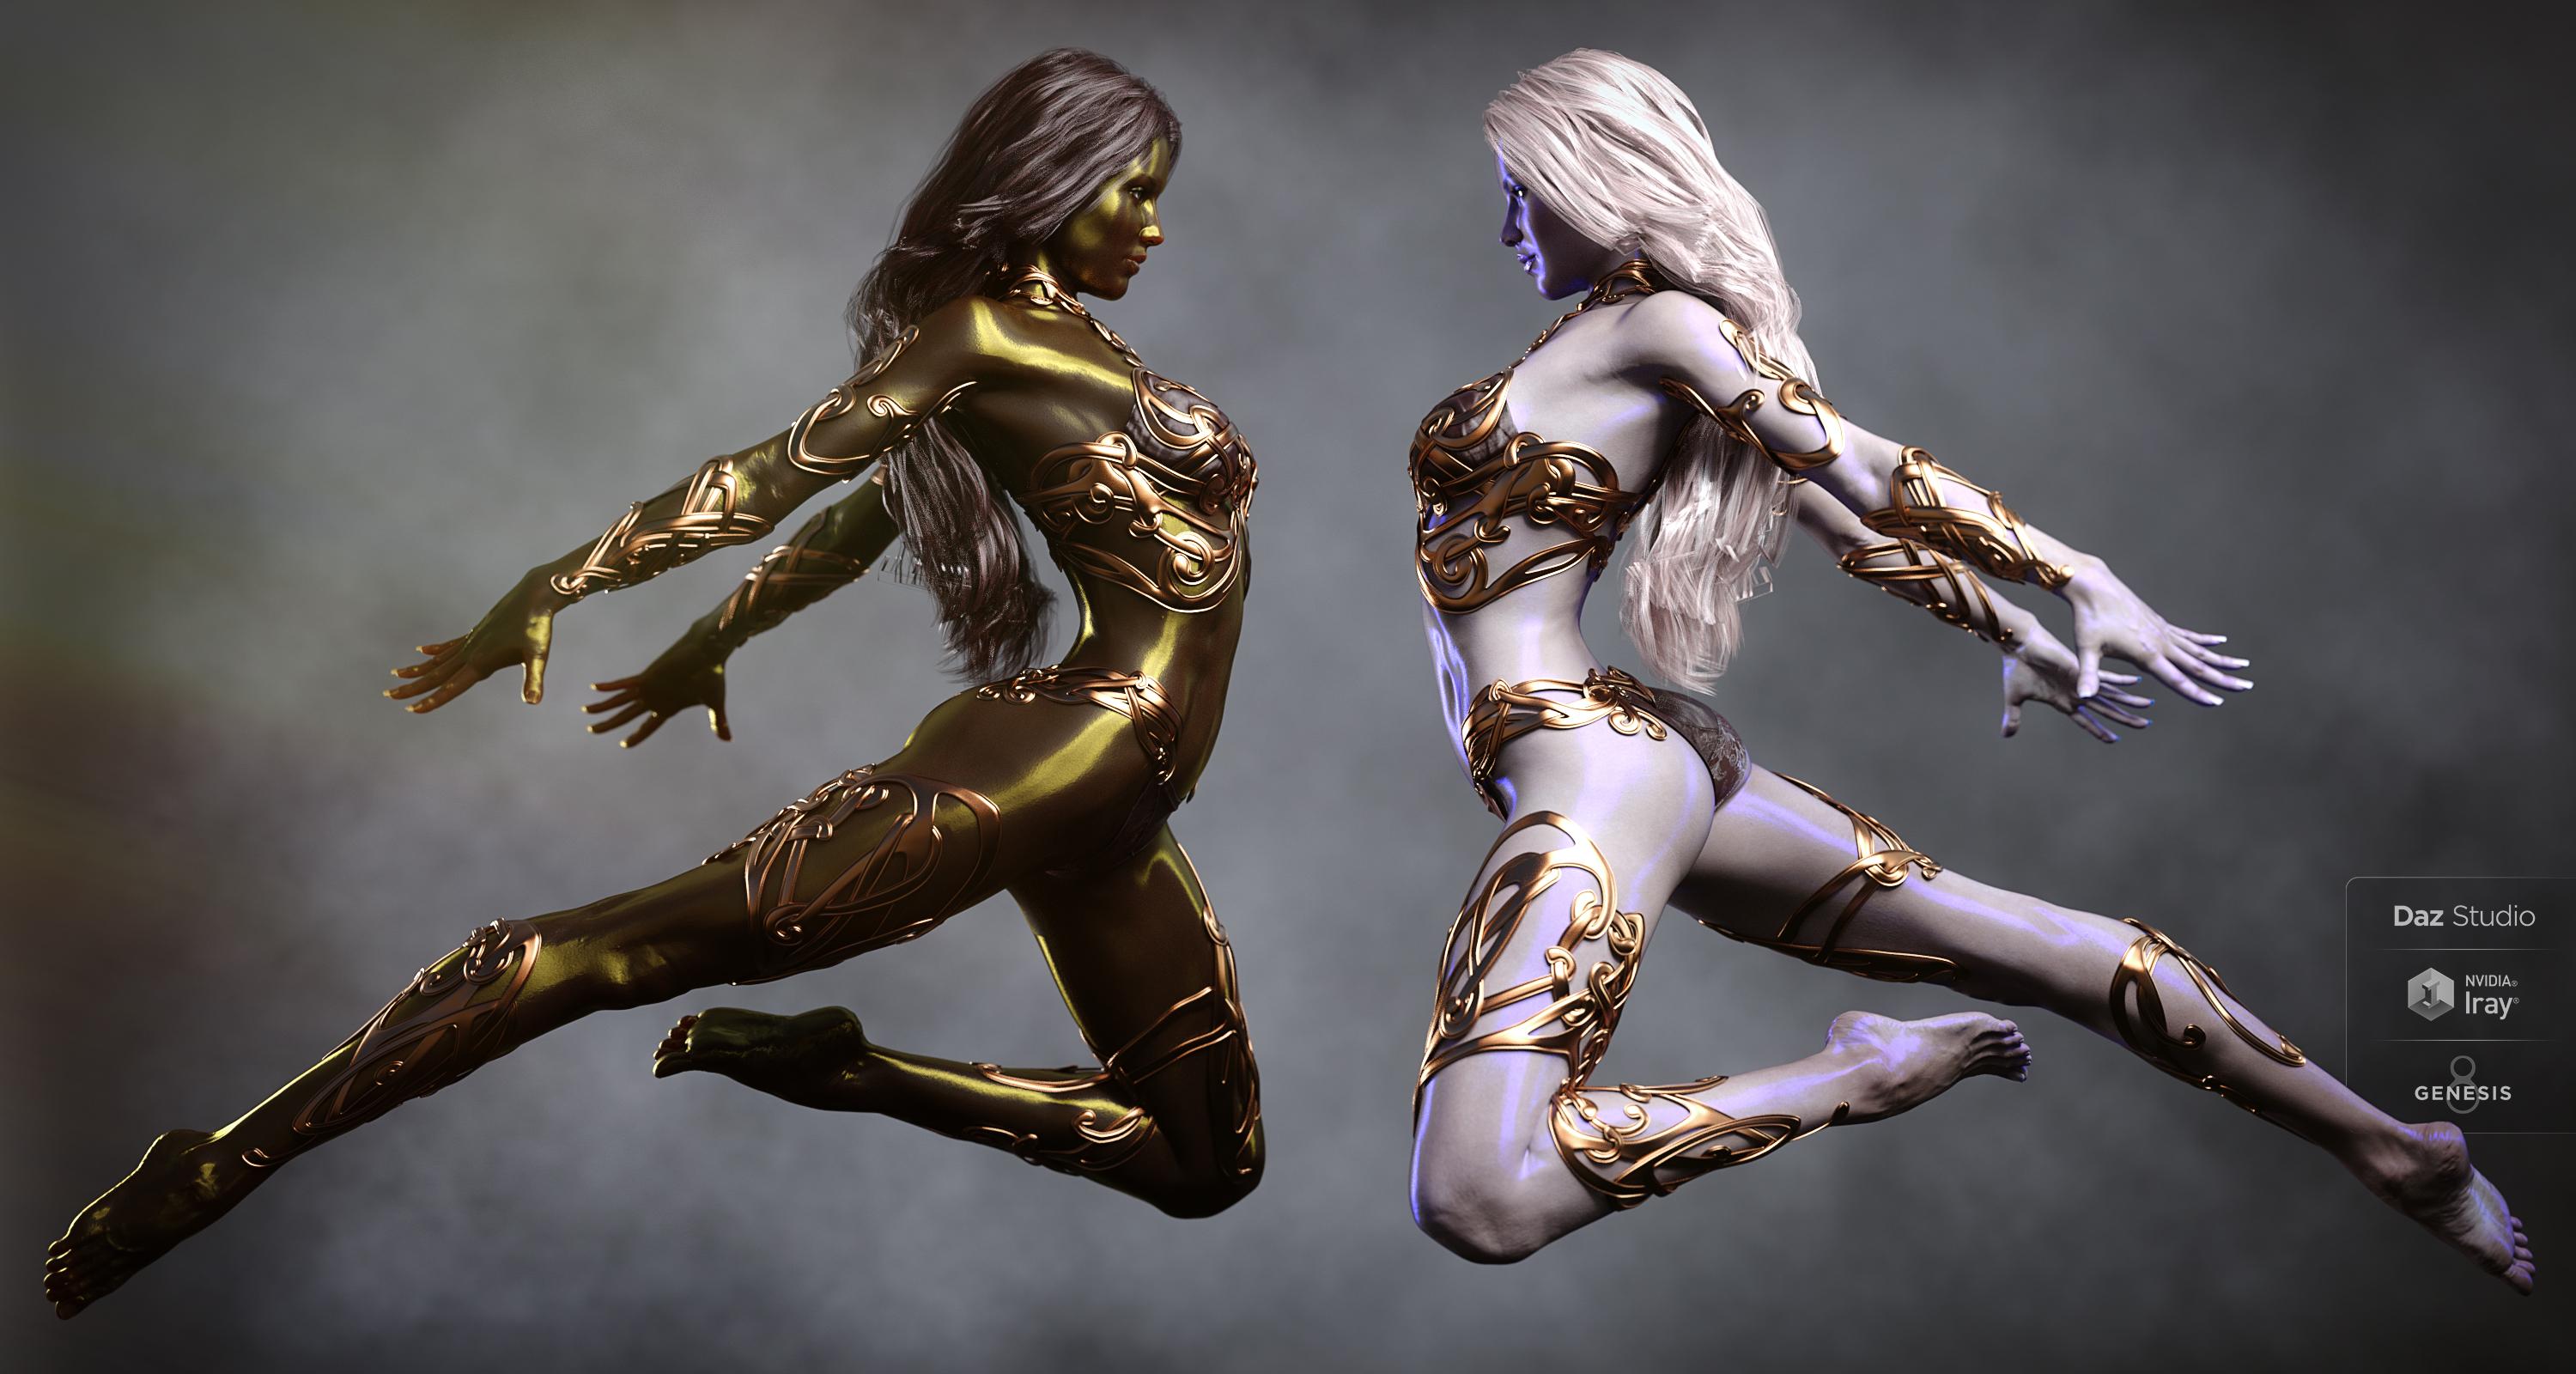
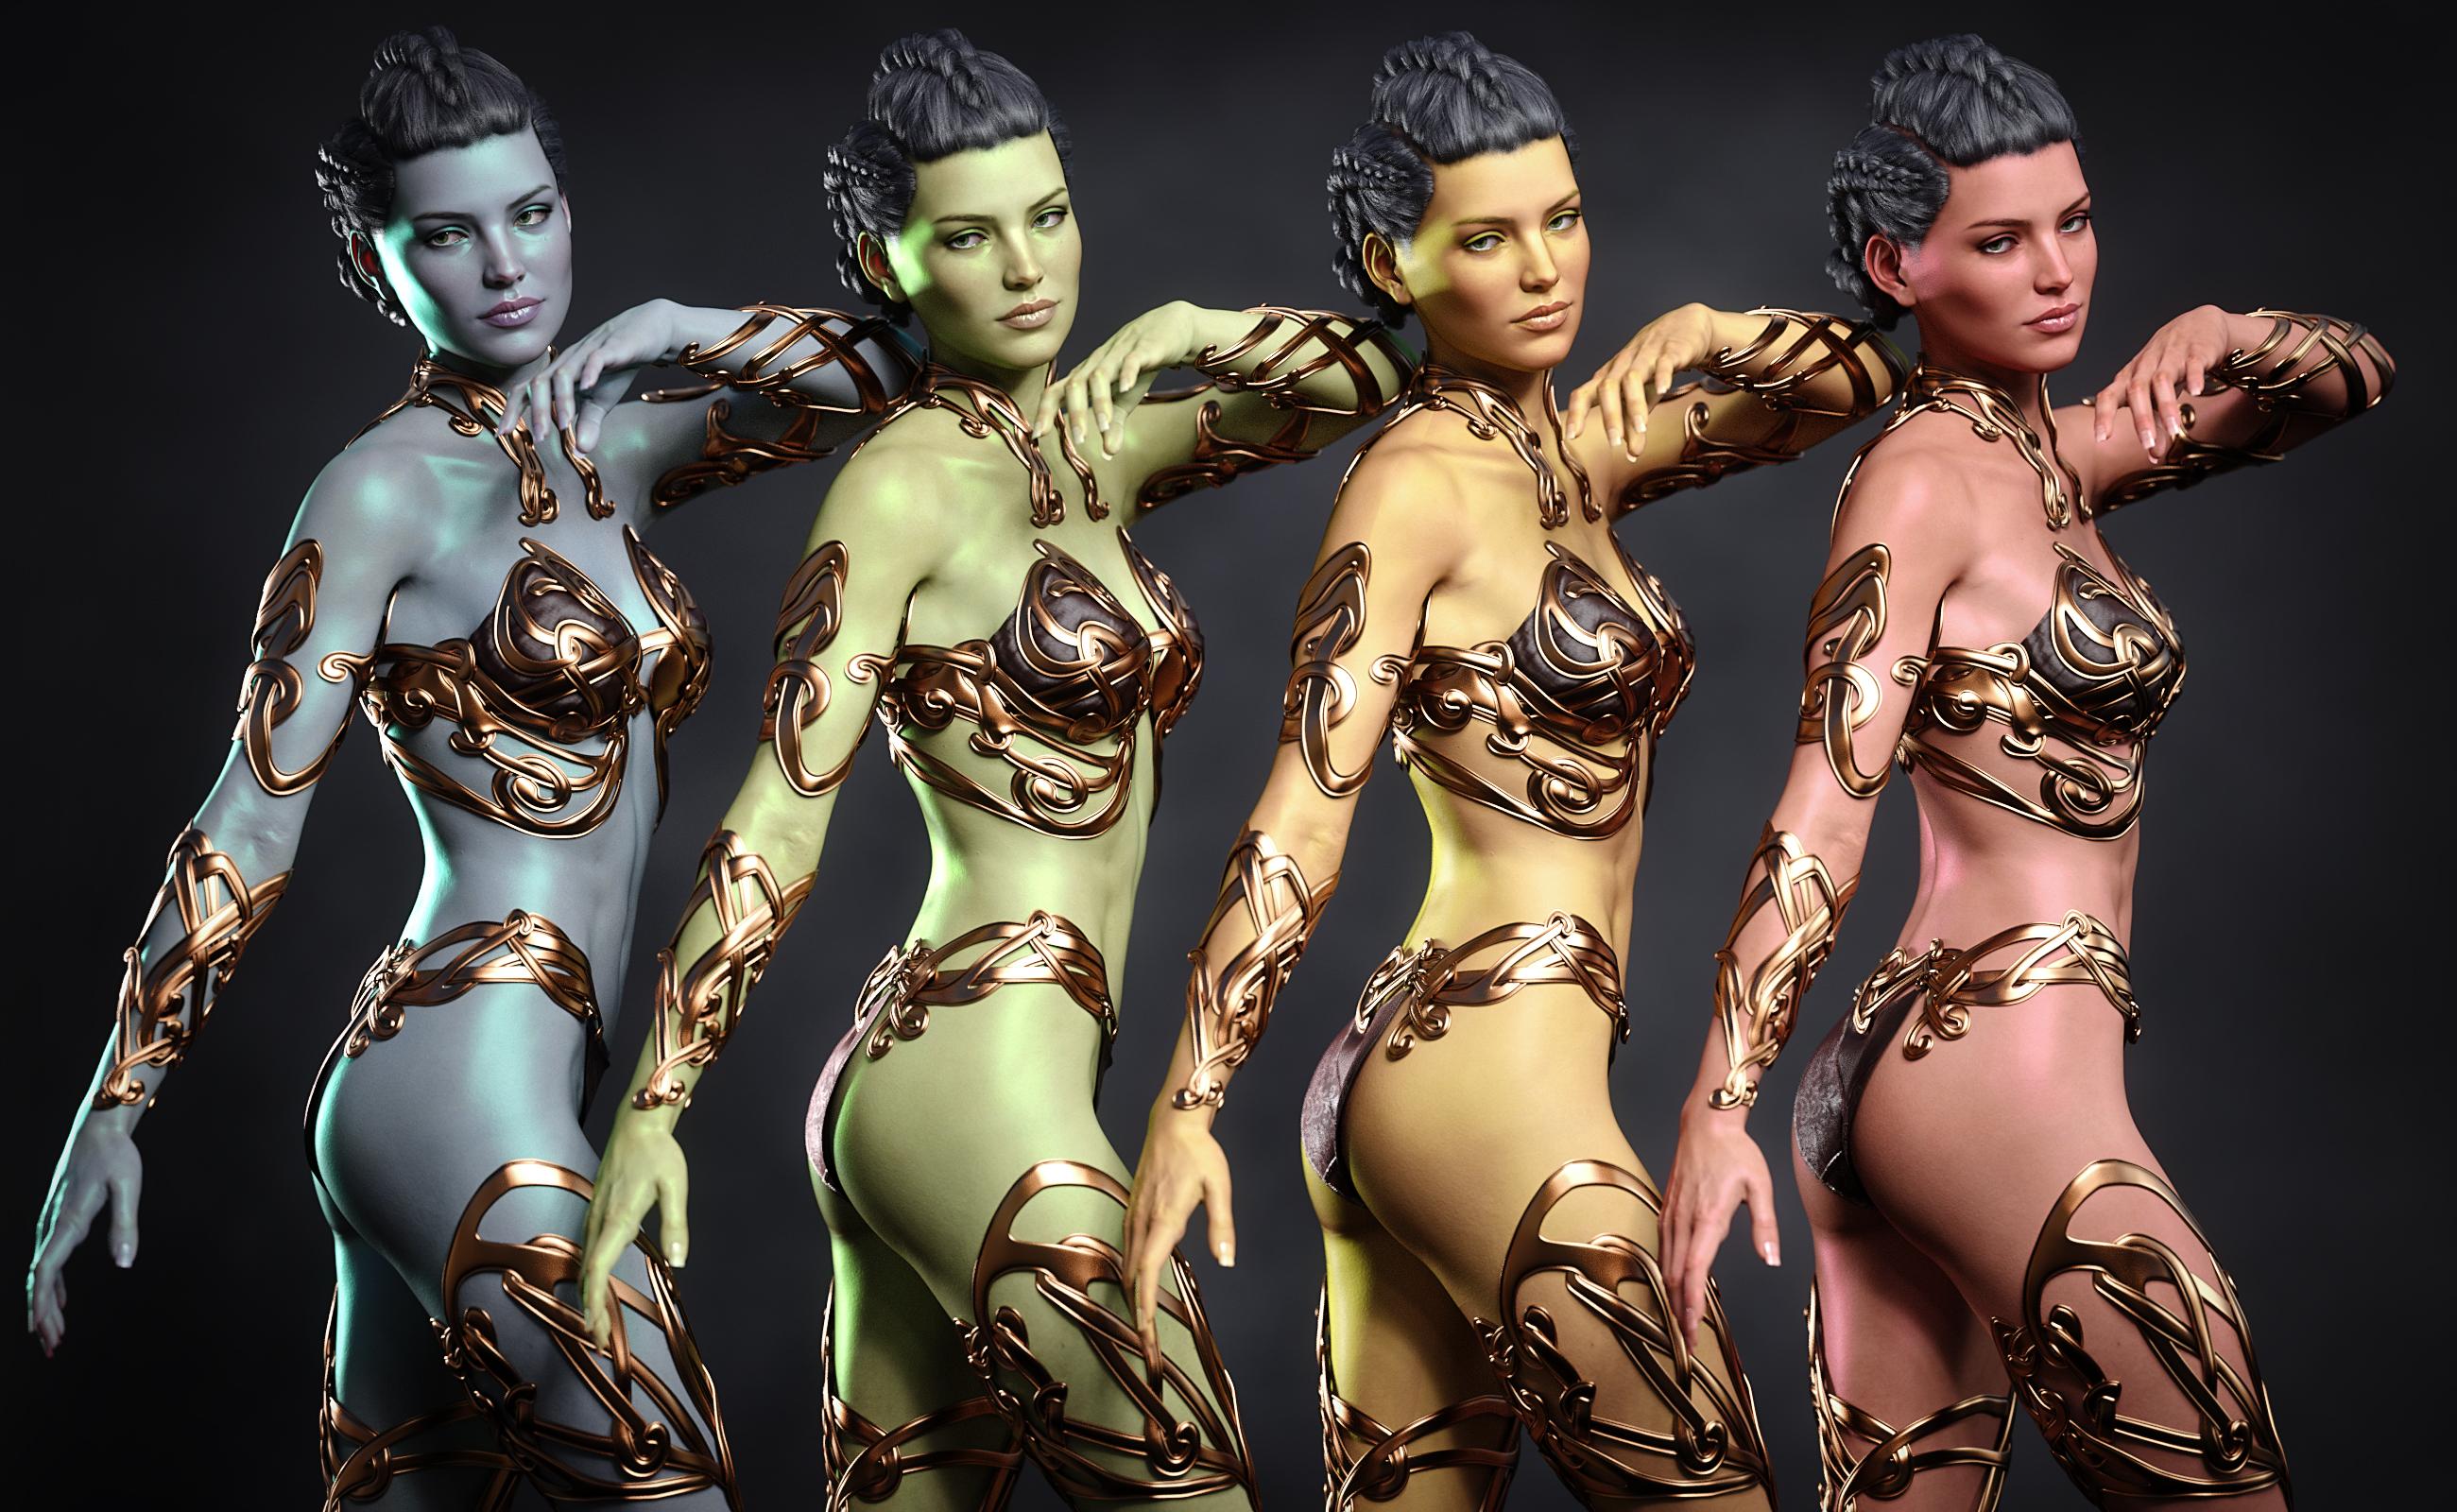
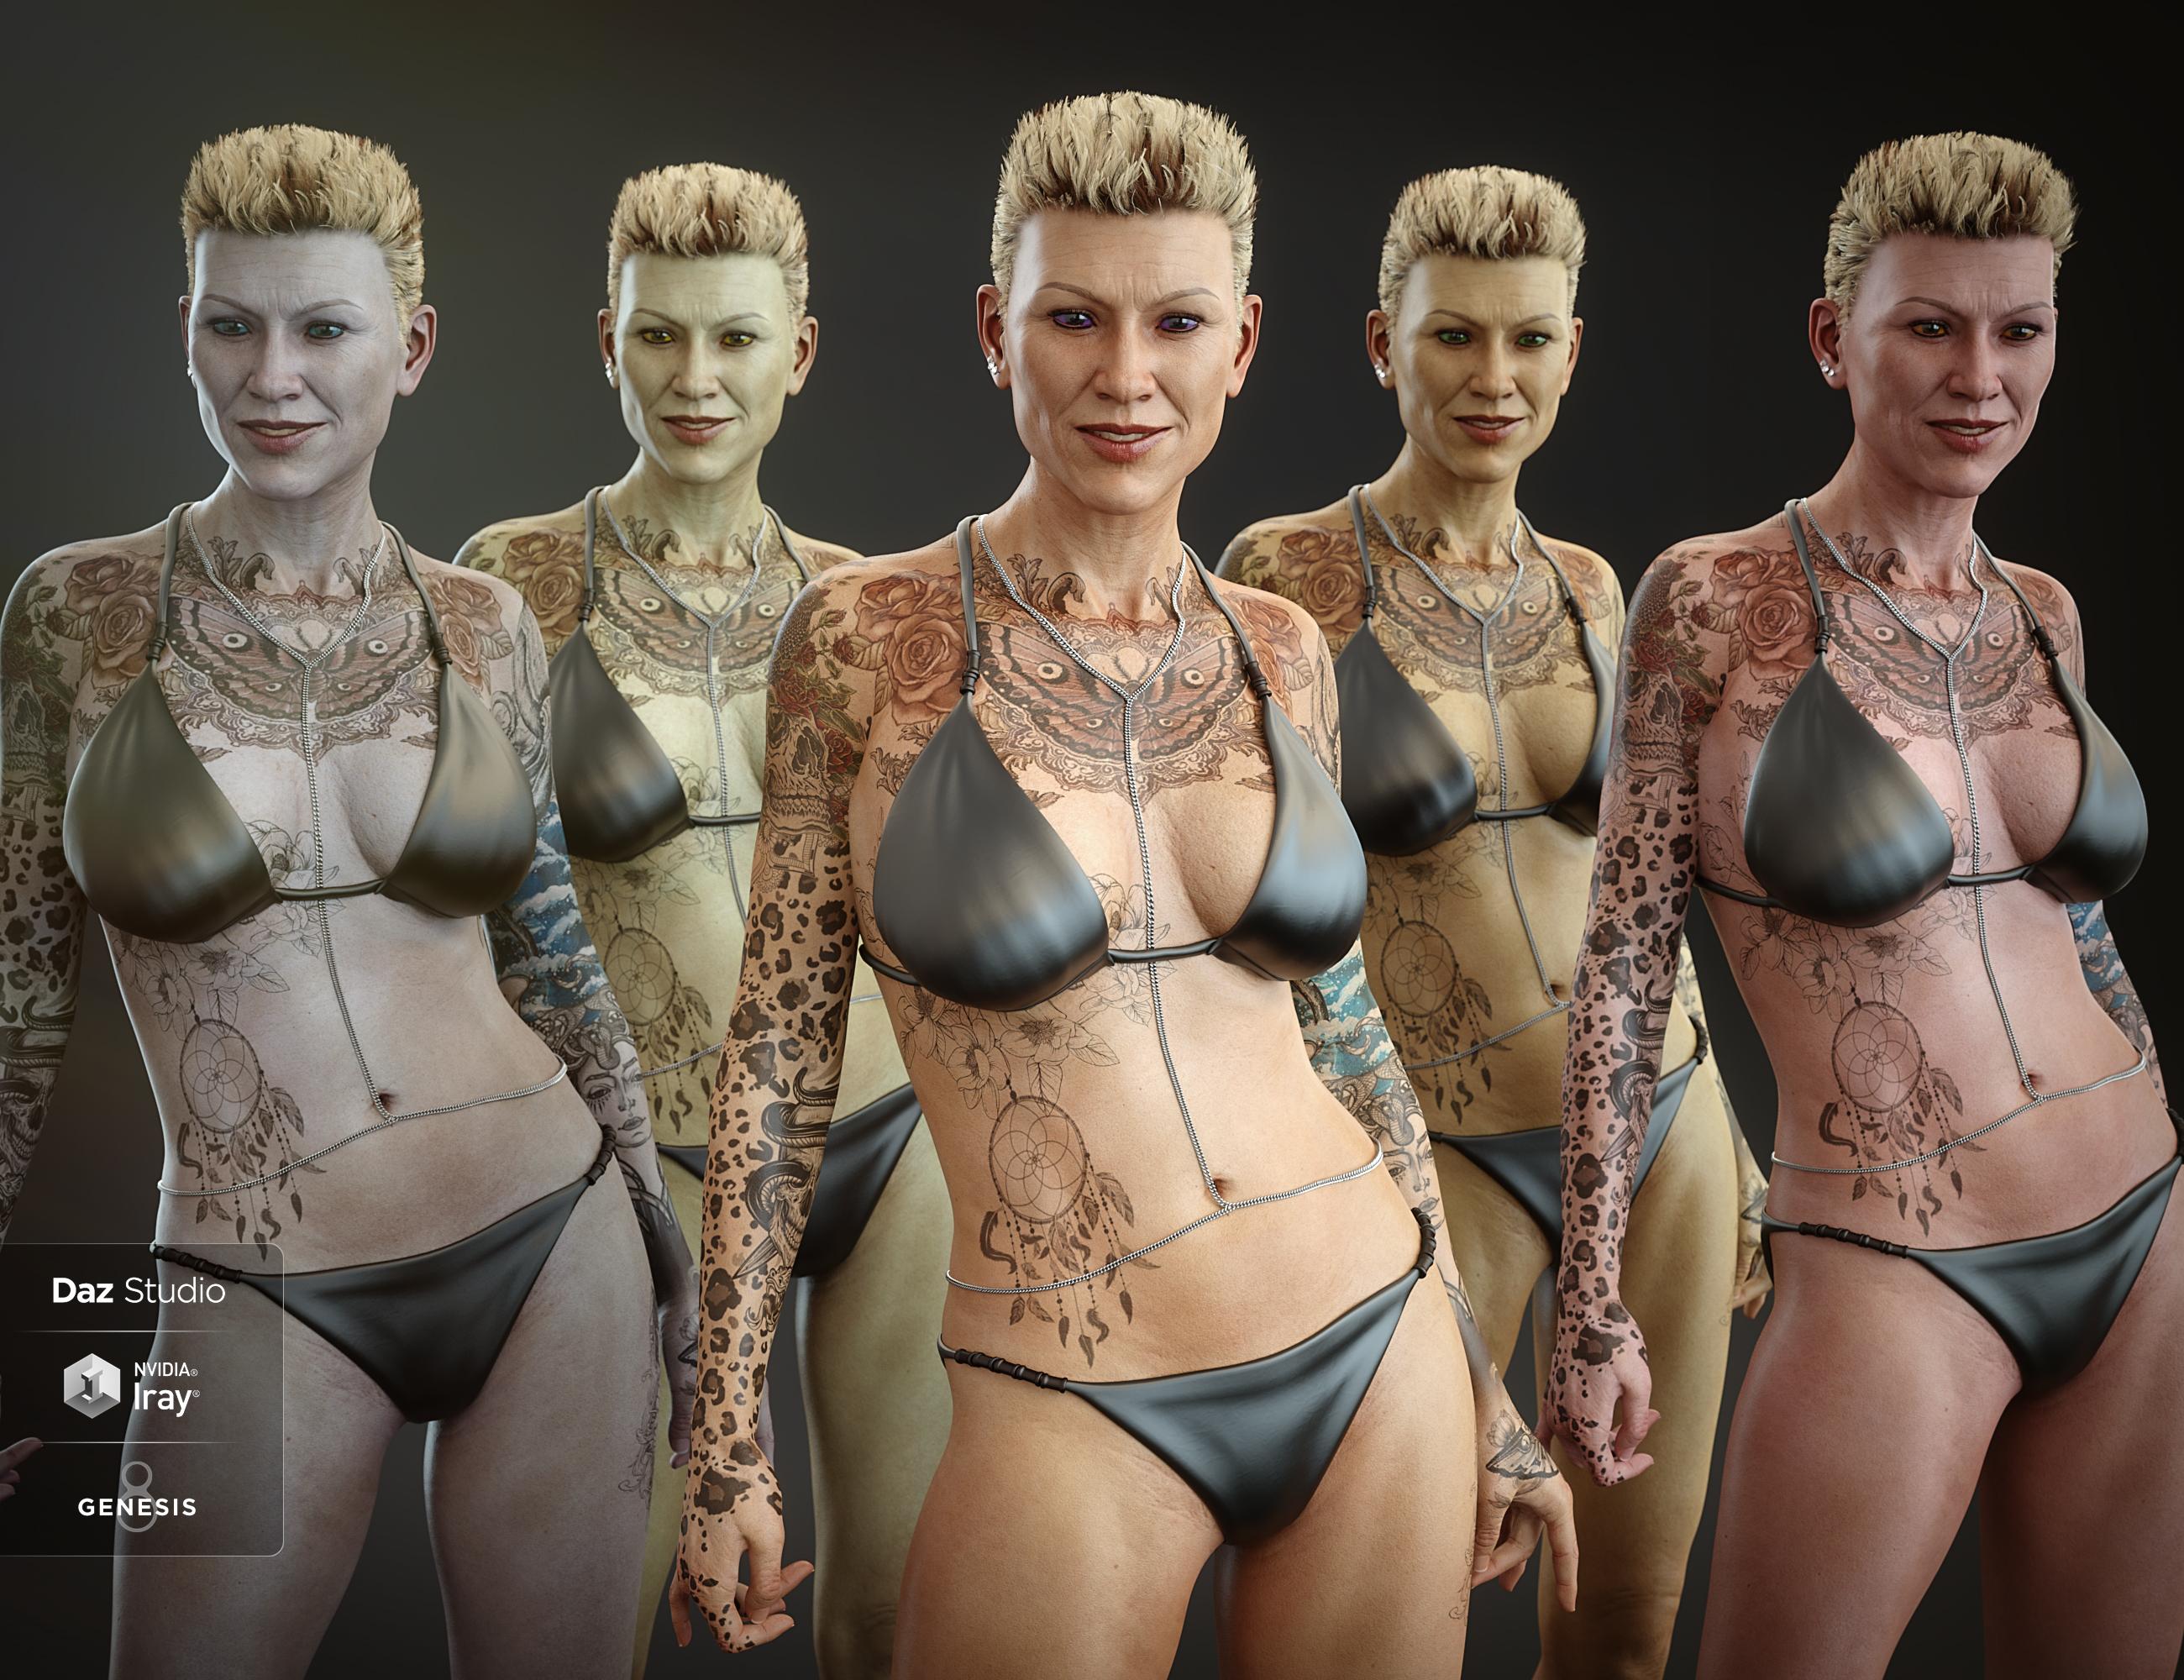
Fantasy Skins For Genesis 8 is a real Fantasy Skins Builder. It is made of partial material presets which will preserve all the texture maps of your figure, and will be able to apply a wide variety of fantasy skins tones on all your genesis 8 figures, varying from very subtle ones, to very dark or saturated ones. Once the base presets are applied, you can decide to render this way, or to combine the base presets with one or several the many of additional effects included, and acting on Translucency settings (blood color), the Top Coat settings, or flakes settings.
Additional script tools are included so that you can very easily handle the global glossy amount of the figure, and/or of the amount additional effects that you add inside (translucency) and over (effects) the skins.
Eyes and Nails presets are also provided so that you get “the complete look”.
Finally, tools are included to handle the Diffuse Overlays layers properties, ensuring that make-ups and/or eyebrows added using the Diffuse Overlay technics will work well with the rest of the figure.
A final script allows you to transfer the whole shader to any Geograft (including Genitalia) part of your figure.
These fantasy skins can be used on all Genesis 8 figures and have been optimized for them, but they can be as well used on all the Genesis 3 figures.
For any questions, remarks, feedback, feel free to use this thread! And Happy Rendering! Here a few renders (click to enlarge).
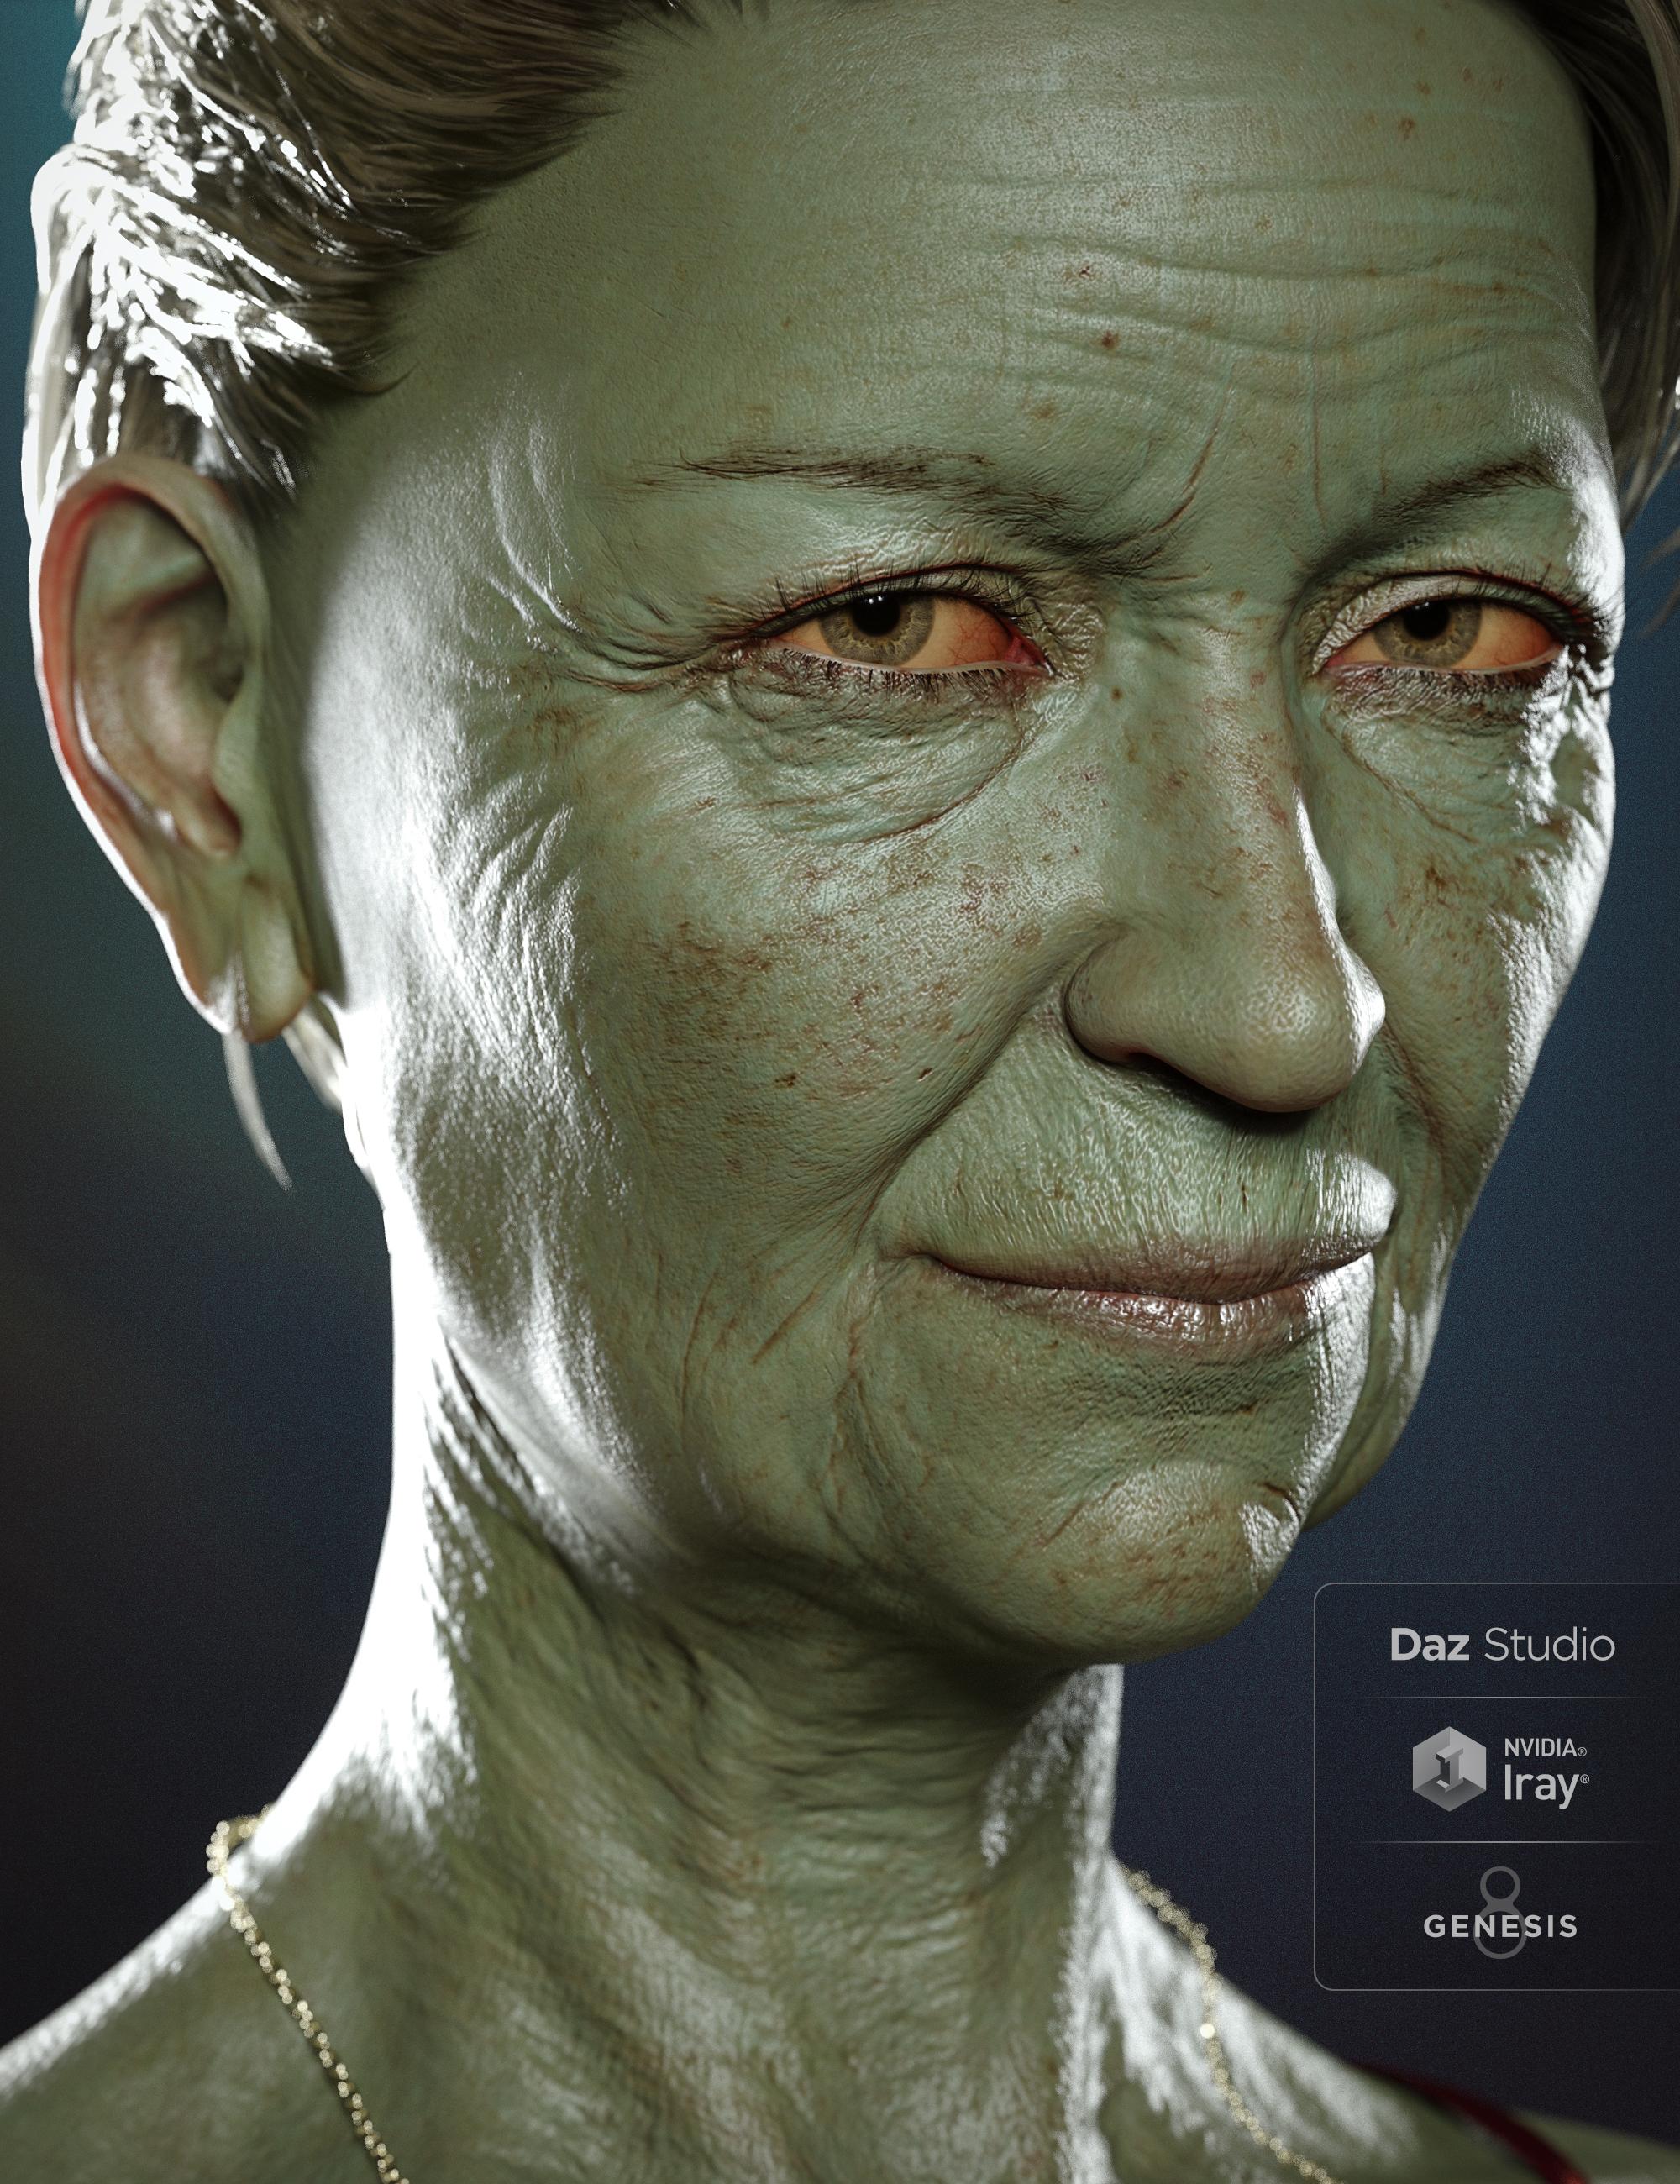


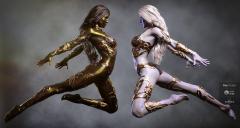


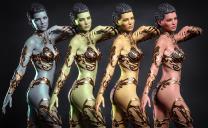


Comments
AMAZING! Can't wait to play with this!
The last image is astounding! And I guess this explains why the G3 product was updated a few days ago. Just a couple of questions: asides from the script for geografts working on G8 figures, the flakes setting and the diffuse overlay functionality, are there any other differences between this and its predecessor? And what did the G3 update do (there's no changelog posted)? Also, just out of curiosity, how compatible, if at all, is this product with your tan lines pack (orcs, though nocturnal, get a lot of sun when doing forced marches)?
Thanks for the feedback, you'll see, it's very easy.
Yes, the last image makes me think of Yoda's wife or something like that.
For your question about Genesis 3 and 8 versions: they are very different. The main difference is that if you try the Genesis 3 version of the product on Genesis 8 figures, in 90% of the cases or more, it will not work properly!!! Otherwise we would have simply updated the compatibilities of the previous product, and there would have been no need for this one.
The G3 version update was a mistake on Daz Side when the product store page for this one was created. I think there was a mismatch in compatibilities, but finally, normally, the updated product should be the same as the previous product, i.e. we have actually submitted no update since the Genesis 3 version is still ok for most Genesis 3 figures.
The reason that this version has been created is that when the Genesis 3 version was created, the Dual Lobe specular did not exist, neither did the Colored SSS. But today on Genesis 8 they are widely used, and this is why the Genesis 3 version produces really too much glossy (and really not nice) results, and not with the right features everywhere, if they are used on Genesis 8. The principle for the "base presets" of the Genesis 8 version is roughly the same, except that the colors and some volume properties are different, and that the presets have been created so that now, it is compatible with the PA choice for the gloss settings, whether it is glossy layered weight or dual lobe, or anything else (even if the base shader is Specular/Roughness). This was not the case before. Furthermore, the SSS type (chromatic or not) was not set in the Genesis 3 version, whereas it is in the Genesis 8, and is then set to the right type. In brief the new product produces the right results on Genesis 8 (which was not the case before), has more customization options, and more tools included (they are built differently in order to be compatible with all types of gloss).It is furthermore compatible with Genesis 3, but this is only a "side effect" of how robust we wanted to make it.
Sadly, it is not compatible with the tan lines, because the tan lines require a special hand made shader mixer shader to work, which is not Iray Uber, and if you apply the fantasy skins, the special shader will be replaced by Iray Uber. But this is an idea ;)
This product looks super awesome. Quick question: Is it for personal use only or can it be used to create a character to sell? Thanks much.
I would suggest that the basic underlying skin has to be uniquely created outside of this product. Also, what I've seen other venders do is state: you can only use this in a limited way. For example, purchase my brows, but only use one brow for your character and you can't use the morphs. Or purchase my eye makeups but you can only use 7 of them in your creation and they must be modified 50%. Or purchase my LIE but you can't resell it as an LIE on your character, it has to be 'baked' into the skin texture. I don't know if this helps but it's what I've seen others do to ensure their work isn't 'reused' outright but rather repurposed in a limited manner. Thanks for your quick response.
Thank you for your thorough reply; it is much appreciated. Indeed, I suspected there were key differences just by seeing the results in the promos, but it is nice to know what the actual nitty-gritty is (and to have finally solved the mystery of the update). Regarding the tan lines, I guess I can always use the masks to set diffuse overlays and just fiddle with the diffuse color, but a compatible solution backed by your expertise would be much better. As usual, this looks like a very useful addition to the toolbox.
You're welcome!!! I'm happy to satisfy your curiosity :)
And you are right, the tan lines masks can probably be used as diffuse overlays weights, and then you play with an overlay weight and color. The drawback is that you have to set the maps manually at the right place, but there are only 1/2/3 maps per tan line pattern, so I guess it is not so long. OMG!!! We get closer and closer from Fantasy skins with Tan Patterns!!! If by luck you render this PLEASE share with me, I would be so happy to see this!!!
Looks great. I have a question about the video: I see that it is on a Mac and it renders much quicker than mine and I am wondering what kind of machine and card it is. I need to boost my speed. Thank you.
I have this in my cart but one question ... once you reach a skin you like can it be saved as a material preset or shader so that you can then apply to any character or do you have to start all over with anew character?
Finally got Cake One on the phone, and we discussed about this. So, the answer is YES, you can use this in commercial products. We will include this in the ReadMe (file and Store page). YET there is a certain numbers of limitations:
1. A preset coming from this set can ONLY be sold with a character. It means that you cannot sell Material Presets or Shader Presets products using any of these presets, but this is fine if you use it as the material preset of a figure you created, in the product including the figure.
2. A preset can only be sold as a FULL material preset, you cannot sell this as partial material preset which would use only the base color or only the effects or only the translucency, or only one or several parts of the material, etc, etc. You cannot sell this as a material preset which would also not include the texture maps of the figure (the idea is that it cannot be reused as a "base material" on another figure).
3. There is a limitation of : 1 Base Preset + 1 Translucency Preset + 1 effect (Top Coat or Flakes) + 1 Nail + 1 Eye per product you create. As you understood after you create the skin preset this way, it must be saved so that the properties are all together in a single file, as a single full material preset (file/save as /material preset/ without any restriction filter).
4. If you use one of those presets in your product, we would like you to add in the ReadMe of your product that the "Material Preset as You Named It" was created using "Fantasy Skins For Genesis 8".
I hope this is OK for you, anyway we will rapidely update the documentation to mention this.
Thanks! Cake One made the video on her Mac. I know she "tweaked" her Mac Set Up to be able to render fast. I am going to tell he someone has a question about that, because I don't know Mac, so I won't be able to help, but she will :)
Yes you can save it as a material preset, and as a shader preset too, using "uncheck images" if you want to keep the texture set of your new character. You can apply it to any other character. Then several things can happen:
- if your new character is "built the same way" as the previous one (it means that the same properties are mapped, and that the base mixing mode is the same), then their should be no issue, only slight shades of hue variations due to the fact that it is another texture set with different colors on it. You might to have to readjust the gloss weight (you have two scripts for that) if the gloss maps are very different in term of darkness between the two figures.
- There could be gloss issues if : the original and the destination characters do not use the same kind of gloss (one for instance is Glossy Layer Weight and the other one "dual lobe", or if, for instance, one is "Metallicity/Roughness" and the other "Specular Glossiness".). The solution if they do not use the same king of gloss would in general to save the material (or shader) preset without the Glossy Layer and Dual Lobe settings (or any settings which could not transfer from one to another), and without the base mixing mode (Metallicity Roughness - Specular Glossiness).
But in general if you work with figure of the same generation - Generation 8-, 90% of them will use Metallicity Roughness as base mixing, with Dual Lobe used and mapped for glossy look, so you should have no problem to transfer the material from one to another. If gloss issues appear, simply uncheck properties related to gloss when you save the shader (well keep top coat and metallic flakes if you use them as additional effects of course).
And in case of a problem, remember we are here, we should rapidely see what is wrong... But I'm pretty confident :)
This is indeed a "tweaked" Mac Pro 2012.
It put inside a GTX 980 Ti and a 1080 TI.
I also have a GT120 as both other cards are not patched so no boot screen.
Of course, the mac can not handle so many graphic cards on its own so i added an external PSU to give them the power they need.
I'm still on Sierra with Nvidia Web drivers (as it works almost just fine so i don't want to take the chance of upgrading the OS)
The 1080 Ti handles the 4k main monitor and rendering, and the 2nd monitor is handled by the GT120 so the 980 is only here for rendering.
It renders fast as for the video, i decreased my monitor resolution. (Normally Full 4k, which is awsome to work on) so the viewport is really not that big.
To be honnest, working on a mac with Nvidia nowadays asks for a lot of courage and patience as drivers are always messy and Apple just gave up on Nvidia long ago.
I can not use the GPU for dForce for exemple (messy OpenGL drivers) so it's always CPU only and really slow but as long as i can avoid going back to windows, i'll hang on ;)
I hope i answered your question but if anything is still unclear, just shoot :)
C.
Thank you for the quick response on all these questions.
Am purchasing right away! :)
Thanks so much for the quick and thorough responses to all questions and to mine in particular.
OK - I'm buying this awesome product, and I'm looking forward to playing with all the cool features.
I really like your enthousiasm on this product.
To be honnest, doing the promos was difficult because i was playing too much with it instead of do actual work ;)
I can not wait to see what you guys achieve with it.
Please, feel free to post your creations in this thread :)
Thank you Cake One :)
Thank you for these V3D. Love your stuff ;). You too CakeOne! :)
Laurie
I'm getting some seams showing (after rendering) after using the Fantasy Skins, this happens with the few skins I've tried, is there any way to avoid this. Thanks
Hi, can you tell me what preset you use and what figure(s) you use?
From what I see, I would say that the issue does not seem to come from our shader, but from the texture sets of the original figure (and this we cannot do anything).The only thing in our shader which could introduce from times to times seam issues is the use of the anisotropic versions of the Top Coats or Flakes effects as this is mentionned in the documentation. But from what I see here, the shader seems to be constant over the figure, only the image maps of the original product give this effect, but this is not our image maps, these are the ones of the figure.
The product has been tested by 4 people, and no-one ever saw this. I just retested the whole base set on 5 figures (this is why it took a while to answer), and there are no issues in everything I tested. The only one where I saw a seam issue was on Chance for owen 8, but the seam issue pre-existed without applying our materials. If you use the original material for the figure, don't you have the same seam issue?
I confirm I made additional tests. If the figure you use basically has seam issues, then they may show up a little bit more using our shader. Indeed, our shader enhances the details of the skin. Because we use translucency settings which keep details, whereas they are usually killed by the general High Transluceny amount used in the general case. Killing less the details also means killing less the maps defects, and the seams defects. I put here a render of M8 who has pretty good maps, and the seams are very hard to see. I attach another render (Finn for Edward 8 Skin), then Floyd, then Dylan, then Novak, where the seam shows a bit more, but it is also visible on the original version, then Alexandra. On Novak I noticed that reducing a bit the gloss (using the provided script) helps in this case of figure. Same way in case texture sets present this issue, then avoid using metallic flakes effects.
Thank you for taking the time to check it out.
The figure is G8M and the skin is Dolb's; the seams do not appear prior to Fantasy skins being used.
I've run through some more tests and the the seams seems to appear after applying the top coat or and the flakes
This is what I get with Floyd: FS01 With SSS, FSG8 05c Strong Red then, FS04 Top Coat Effects, FSG8 12 TCEffect 10d applied, may I ask what sort of lighting you are using I wondering if its the lighting I use which is a bit of a pain if it is- as its the lighting i use.
Oh thanks a lot for this information!!! I had a deeper look, in the meantime I was working on this too. For the lighting in the images I provided, I used Daz Studio default environment, one use sunlight, and another one daz default plus spotlights. But, indeed, you have a seam issue on floyd (not an issue of light), and I know why.
The Top Coat Effects ending with C and D letter use strong anisotropy. Sadly this can produce seams issues, and it is mentionned in the documentation that even with this drawback we kept it because it produced interesting features; This is due to how Iray handles anisotropy. The A and B effects should present a much less visible (minimized at least) defect. Try rather the preset A (boost it if necessary), the preset B still having a bit of anisotropy (I wonder if I should remove the anisotropy from it in an update). After that what is important to mention is that it is very difficult to have zero defect at this head/face junction area, because of the difference of UV scale for those both touching area. The face UV map owns its own 4096 pixels maps, whereas the poor top of head is a small area of a map allowing a wide space for the torso and a very small place for the head, this is why there are often issues at this specific place. This is why the part of the defect you see comes from the fact that the maps are at a very different apparent resolution for the BUMP maps at this place (these are the most important ones). If you want, make a test, set the preset A, boost it as much as you want, and then set the bump to 0. You'll see the issue comes from the difference of apparent resolution in bump maps, or at least that without the bump maps (bump strength 0), there is no or almost no issue on preset A and B (not checked on B which has anisotropy).
Another issue might come from the Flakes effect you would apply. While you wrote this, I was preparing additional Flakes Presets which would allow a "perfect" continuity of the flakes size along the whole figure. This would be one or two or three files allowing to match the flakes size, with maybe different sizes. The sizes of the flakes on the different body areas have been set up so that they look good on each of those areas "individually" and that the global result was fine for a global body rendering. But if you focus on some areas with seams, such as the head/face junction, then indeed, you have a size mismatch. These were the files that I was preparing, so that people have the choice between the original preset, or the preset with matching sizes A or the preset wiht matching sizes (but with a slightly different size), the presets I would provide would only work on size. Because the contribution of the size of the flake effect could result in the same type of issue. For now if you want to see if it works better for you, you can try the following Metallic Flakes sizes (surfaces editor pane, metallic flakes group of the surface) : 0.01 for anything with the torso template (at least the torso), 0.04 for the face template, 0.018 for the arms template, 0.01 for the legs template. (of course if you used metallic flakes).
So in brief, for the Top Coat, what comes from the anistropy was expected, and what comes from the bump, it is going to be hard to solve. I could see with Daz if they have a clue about what in Iray Uber makes it react this way (well if it is normal or not). What is related to the Flakes different sizes, an update will be submitted very rapidely, to allow people to choose wether they want to keep the original sizes, or to use other sizes. I made two images of the bump maps of floyd, and at the top of the head there is indeed a small mismatch. I don't know how I could help more so far, please let me know if I can do something more, and if you are ok with what I analyzed so far...
PS : on the clay renders I show there is only diffuse and bump (no translucency, no gloss). The bump map was copied to the diffuse, and also used as the bump map.
Jumping in ;)
V3Digitimes is a very techincal person and i sometimes loose myself in her explanations so i'm gonna try to be as simple and clear as i can.
The way the Genesis 8 (and 3 before) is UV mapped makes seams inevitable.
The bump,normal map, spec, texture, etc maps are split into different parts that have different scales.
Exemple : In the face, skin pores are very small on the map while in the head part, they get huge.
99% of the time, the artist who crafts those texture do a decent enough job so it doesn't show much but basically it's still there. Almost not perceptable, but still there.
When you apply some effects, it will enhance details like bumps, specularity etc, and in some cases, with some characters, the seams will also be enhanced.
The light direction will also have a role to play.
Light can also enhance bumps/ specs, etc, and therefore, will also enhance seams (by showing the difference in scales).
Put all that together and you will get the result you get.
I'm posting a new test :
This render has 3 emmissive lights.
Character is Tara 2 by Kayleyss (on of my favorite Character creators) and if you pay a close attention, you can see the tiniest seam on the head and it's not a bug, it's the scale showing.
This seam is usally hidden with hair so it's usually not the bigger deal but in most cases, well, if you render completely, with close up, it's there, no matter what.
As I stated before, you almost don't see it but it's there.
On the other image, it's the same character, same lighting, same camera etc but i applied a SSS preset with a flake effect.
The tiniest seam is still there. It shows a tiny bit more (scale enhanced).
IT's not huge, and it's still barely noticeable but it's there.
If the character used at the begining has more noticeable seams , not only in textures but also in bumps, specs etc), it will show more.
Our product do not create seams as it has no texture of its own and will only use the textures of the character you use.
We can not "Fix" something we have no control over, but we can try to make it less noticeable so we will make an update to decrease the size of flakes and allow the seams to be less noticeable in cases like close up, for the characters who show the same problems as the one you showed us.
Still, there is some things that need to be reminded :
First, as stated on the documentation, results vary upon the character used and the way the textures have been crafted.
It means some combinations will look awsome on a percentage of the character but not another one, but another comination will look awsome on them etc.
If a combination doesn't look as you like on a specific character you want to use, try to change it, increase, decrease, change preset, etc.
Try to use other textures if the one you are using have noticeable seams.
Try to change the lighting or the direction of it.
I have used, IBL, direct lights, spot lights, sun only, multiple portraits lights and always ended up with good results so far so i can clearly say that you don't have to use ONE SPECIFIC lighting to make i look good.
I'm sorry you're having issues with it so we will do our best to make it easier for you:.
Stay tuned for an upcoming update to have the seams less noticeables on the flakes on specific characters. :)
Thank you.
As you mentionend Dolb's textures, i decided to take a closer look.
I love this character and used it on the Fantasy Skins for Genesis 8 Video presentation :)
Here is a render of its head, out of the box with an emissive light and defaut Studio lighting.
As you can see; the seam you struggle with is already there and the effect you applied, might have enhanced it a bit more as it enhances all the details.
It is not a bug from the character creator, it's the scale difference between the head and torso maps and there is not much that can be done to avoid that.
I dont want to make it sound like Dolb has bad texturing as it is not the case (on the contrary).
It's an amazing character.
Here is another render of the exact same character, seen from the other side and you see the seams are much much less noticeable (still there, but less visible).
It also proves those seams are really dependant on the lighting used:
As someone who makes characters and textures... that transition between face and back head is a real flipping pain in the burro. GODS blast it. I've screamed at the computer many many times.
The simple problem is, if you display in Wireframe, the squares (texels) of the face are at a much smaller scale than the head (which is part of the torso). And that causes all sorts of problems trying to create a consistent flow. Now, in many conventional characters this transition is covered by hair so it's not that big a deal, and this essentially serves as an optimization so that you can have fine detail on the face and less on the torso. Under normal circumstances this works great.
Buuuut if the character is bald or weird or whatever... argh.
This is extra fun with my attempts to do textured fur, or scales, or other items that have fine and obvious detailing. HOo boy.
You are right, this is a real technical challenge!
Well I came here also to say that I have just submitted an udpate to the product. All the files of the current product remain the same (except the documentation which is updated), but additional files are now included. We now raised above the 300 options files to customize those Fantasy Skins! (we were not far).
March 2019 Submitted Update:
I wonder why DAZ hasn't come up with a more transitional UV map, like say have the tighter UV from the face flow into the Neck/Back of head and then spread back out so that the face and back of head is a very smooth transition to a larger UV as expected. With all the UV tricks being implemented these days I'm sure it's possible!
Cake One and V3Digitimes thank you both very much I really appreciate you going over everything and your update. I did realise that the Fantasy Skins don't actually produce the seam but just make it visible but I don't always explain myself very well with the written word. Its a lovely product and I've already getting some nice results. I will post a render when its done.
You're more than welcome.
I can't wait to see what nice results you have.
I'm always frustated to never see what has been made with the products i created or collaborated to create :)