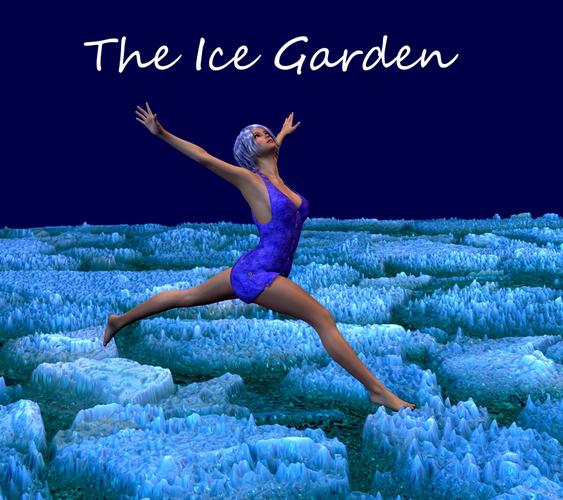
The Ice Garden Tutorial-What Bump and Displacement Can Do/ Questions
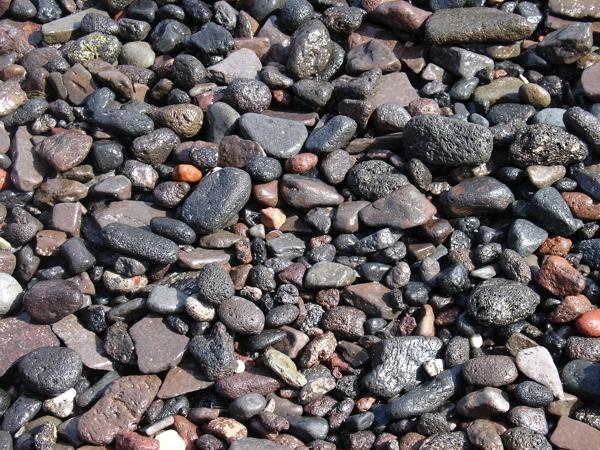
I would like to invite the brand new users to a tutorial that will introduce you to the power of using bump and displacement in the Surfaces tab. Using gravel, you will create snow and ice. Those pieces of gravel below will become the snow and ice pictured!
When I was new a year ago, I had no experience and no idea about the neat effects I could achieve with those channels, so thought I'd share. Pop over and see how easy it is- and if you have questions, just ask! Please do that here though so other folks will see it.
Also thought it would be a good thread for collectively asking questions about bump and displacement if you have any. (And that's for the pros to answer, not me lol! I'm experimenting.)
You will also be shown how to create a hill using D-Formers.
http://www.daz3d.com/forums/discussion/19756/P930/#401375


Comments
If you want a smoother displacement apply some Guassian Blur to the pebble texture map first..
Ouch yes ... those poor feet! [jk]
Thank-you :-)
LOL, she was just tossed in there to test the lighting. I'm only on my second attempt with UE2. What I planned to do in the final render (if I pursued it, I'm just playing with the bump/displacement options) is to change the pose to a kneeling one with her reaching into what seems to be the more liquid aspects. I still have to totally finesse the lights, change the composition, add the nebulas in the sky, etc.
EDIT: In other words, having this scene at all was a "happy accident!"
Just offering advise and alternatives. If you have the computer power displacement can be so much fun. I have made many displacement maps from all sorts of things just to see what happens, fun doing it on a terrian in Bryce to, well that is more hieight maps really but same principle.
That's fine, I know that :) Any suggestions on what you tried? What kind of things, if you remember?
I made a tiled hexagon map in Photoshop Elements some years ago. Made a few hexagons pure white, some black and the other various shades of grey. This was for a Bryce height map for the terrian in the image below. It would work as a displacement map given the mesh had a healthy number of polys but not dense. 3Delight can do micro displacement at render that is not too dependent on how heavy the poly count of the mesh has which helps using all sorts of textures or grey scale maps as displacement maps in Daz Studio as you found out.
But I have used rock, sand, grass textures as displacement maps just to name a few. I was in my testing stage back then when I just played with things not making images but just to what would happen.
I often desaturate the colour images and adjust the Levels to get more contrast if needed to use for a displacement map. I think half the fun is seeing what happens.
Beautiful. Wish I were there!
I made a little PDF where I played with Bump, Displacement and Normal maps, here.
Thank you Totte, I'm reading through it as I wait on renders. I'll also put it in my art studio links as a handy reference.
Bump and Displacement maps should be greyscale image as they are meant to define a range of lowest (black) to highest (white). The best image format for displacement is 16 bit greyscale .tif, it has a larger range of shades of grey so produces less 'stepping' in displacement.