Making "Little Morphs" ... a term coined by yours truly {wink}
 patience55
Posts: 7,006
Oh it's over whelming ... all these new programs coming out faster than one can learn the previous one. As not everybody has the where with all to invest the time and/or $35,000 {give or take} in university grade "how to do anything with 3D" courses ... and some folk would just like to "do something" with their new toys here ... this is a method I painstakingly discovered with 4.0 ... and it still works through to 4.5 so here's an 'updated' online tutorial for making yourself some "little morphs" which is not intended for professionals desiring to sell products. This is more for those wishing to make shareable freeware and/or their own items to an easy to find location on the Parameters Tab.
So the new kid on the block is now Genesis 2 and there are precious few morphs available atm for her. Not counting conversions here. Conversions have their place but dedicated morphs tend to work better.
So for those entirely new to all this ... for starters, let's all start on 'the same page'.
Open up D/S4.x and check that the options for Hexagon are 'basic', not advanced.
Edit > Preferences > Interface - Hexagon - "Show basic options"
And while the Preferences window is open, check that your name is your Handle that you want displaying. Also any website or email addresses.
This information will then be added to all your creations from henceforth.
.........................
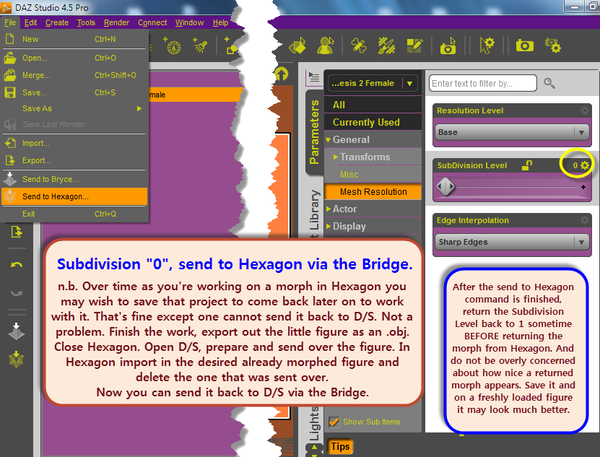
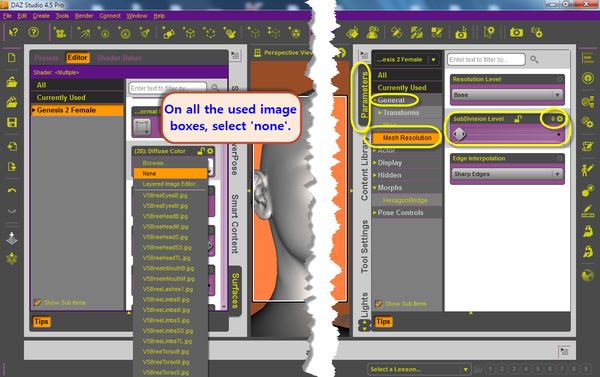
Then one has loaded in D/S only Genesis 2 [in this case], remove the texture images and "0" the mesh resolution.
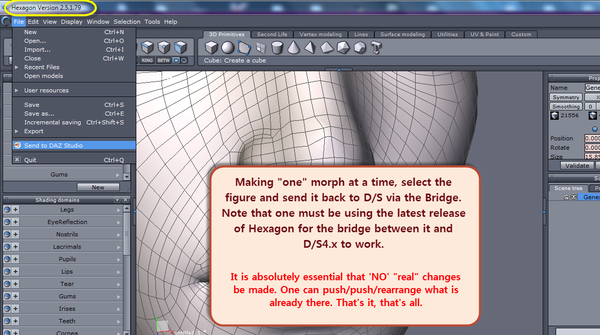
Then send G2 via the Bridge over to Hexagon.
..................................
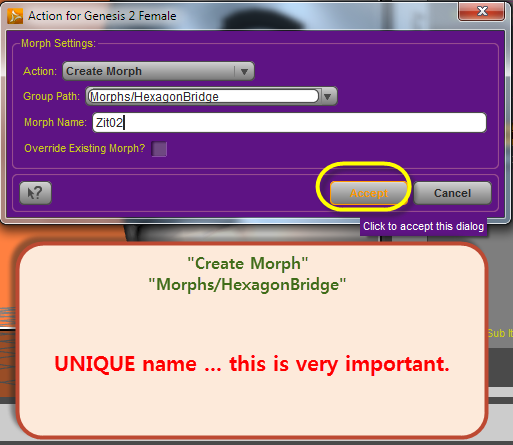
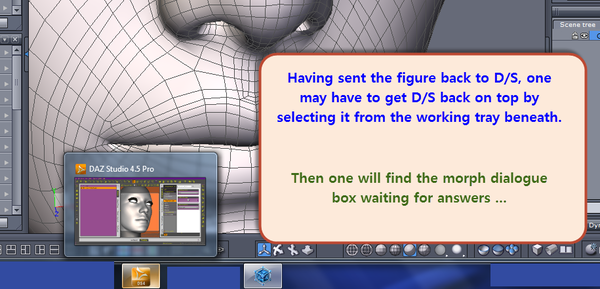
The images are "named with numbers" in sequential order.






Comments
Next set of images:
And the last section for this part:
Last image is of the finished "old lips" little morph.