what step did i miss? (UV mapping)
i have been trying to get into creating things for daz and poser, because i have gotten quite good at sculpting. the only step i am missing is how to uv map, i still haven't figured it out even after all the tutorials. i think i am getting close though, here is where i am so far.
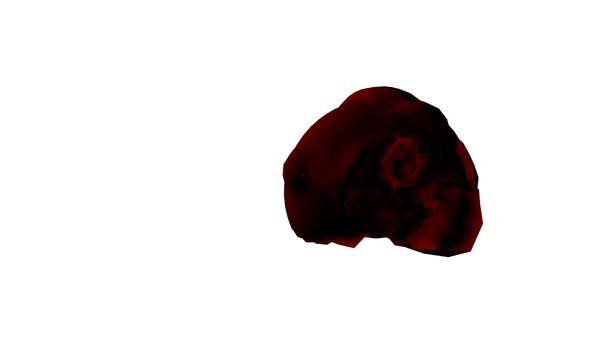
i sculpted an object, exported it to blender, and used blender to unwrap its UVs. then exported its texmap, its normals, and its bump map. i opened its texmap in GIMP 2.0, and textured it with a basic color. then i go to import the OBJ to daz, and apply its UVs using the surfaces tab, i get this right here in the below picture.----- what am i missing? and how can i easily texture obj's for things ike daz? thank you for your time.---


Comments
Yeah by the looks of it the mapping is messed up. Are you sure your using the mapped obj and not a previous unmapped piece. Do you have a mapping program like UVLayout or UV Mapper?
yes, its the same obj that was edited in blender, what i did was unwrap in blender, than export the obj from blender. to make sure they are the same one. and i am not familiar with those programs, would they help solve my problem? also, here is what i am doing in blender, if it helps:
Your mapping is falling outside the boundaries, scale it down until it is all inside the gray grid.
Also, if you want to make sure that the UV's you made are actually on the model in DS, try changing your viewport mode to UV View. If you have the proper UV's applied, you will see them mapped there. Oh, and make sure you have at least one of the surfaces selected in Surface Tab or it will appear blank. I've been known to make UV's and somehow mess up saving the object, only to find out that I didn't actually save the UV work. That really sucks.
If that doesn't fix it check what export/import settings you are using. IIRC there is sometimes with some programs one that flips the uv maps.
Simple Questions. One, Did you re-save the Object after the UV mapping step? And two, did you test the UV Area with a Texture like the Alpha Checker pattern most prgs have to show how the UV seams line up? The UV coordinates are saved in the Object file, the Template is Only a FLAT map that you add the texture to so it can use the seams saved in the UV. Not the UV itself.
EDIT: Did you Group each section to be Cut into the UV before you cut it on the mesh? Not always needed but I do it.