Quick Guide: Export scene from DAZ Studio to OctaneRender Demo to check available VRAM
 linvanchene
Posts: 1,382
linvanchene
Posts: 1,382
- - -
This is a very quick and rough guide how to download the OctaneRender standalone demo and check the
-
amount of VRAM used by geometry
-
amount of VRAM used by textures
-
amount of VRAM you still have remaining
-
amount of VRAM that is “unavailable” for use
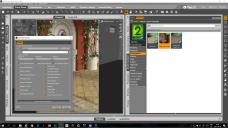
1) Download the demo
You can download the latest OctaneRender demo here:
https://home.otoy.com/render/octane-render/demo/
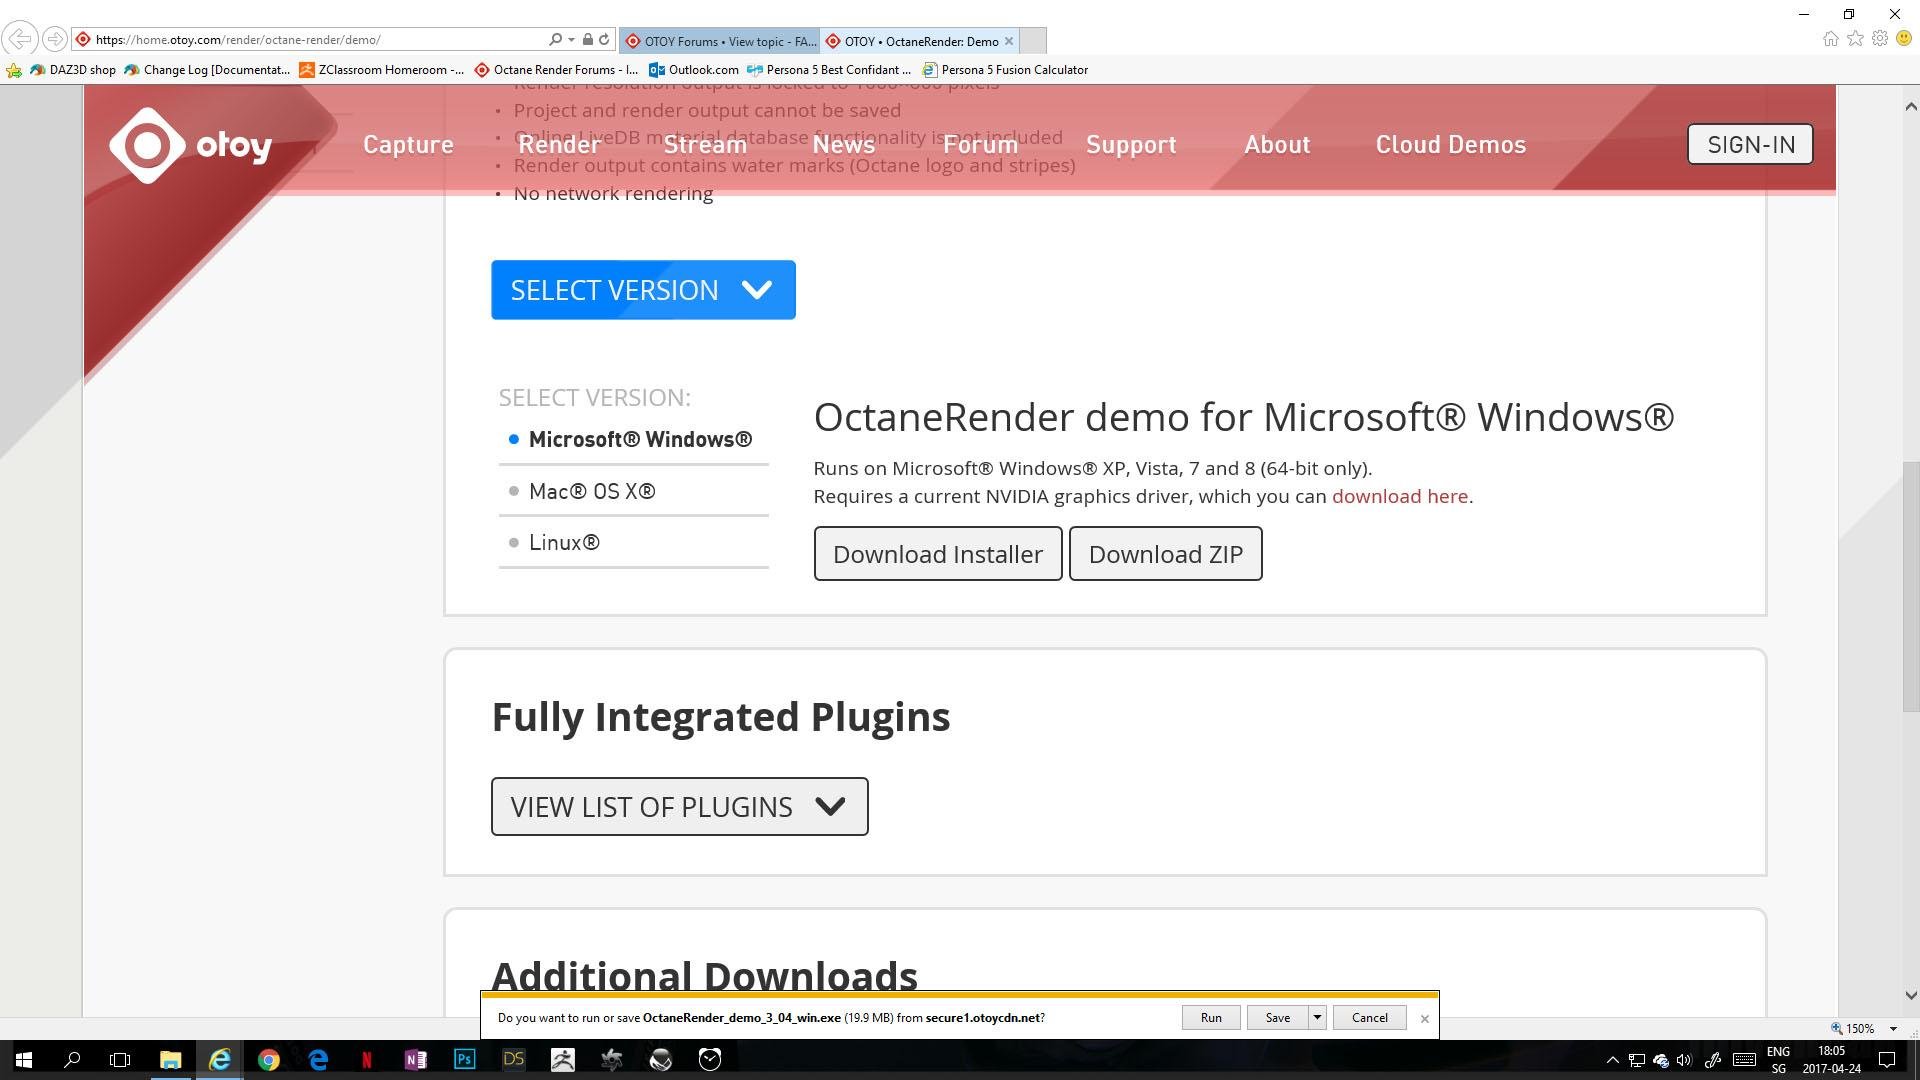
2) Install the demo
Just run the .exe and install in the default path
C:\Program Files\OTOY\OctaneRender Demo 3.04\
3) Optional: Check the manual
Maybe it helps to first have a look around in the OctaneRender manual section
https://docs.otoy.com/#rOctaneRender_Universe
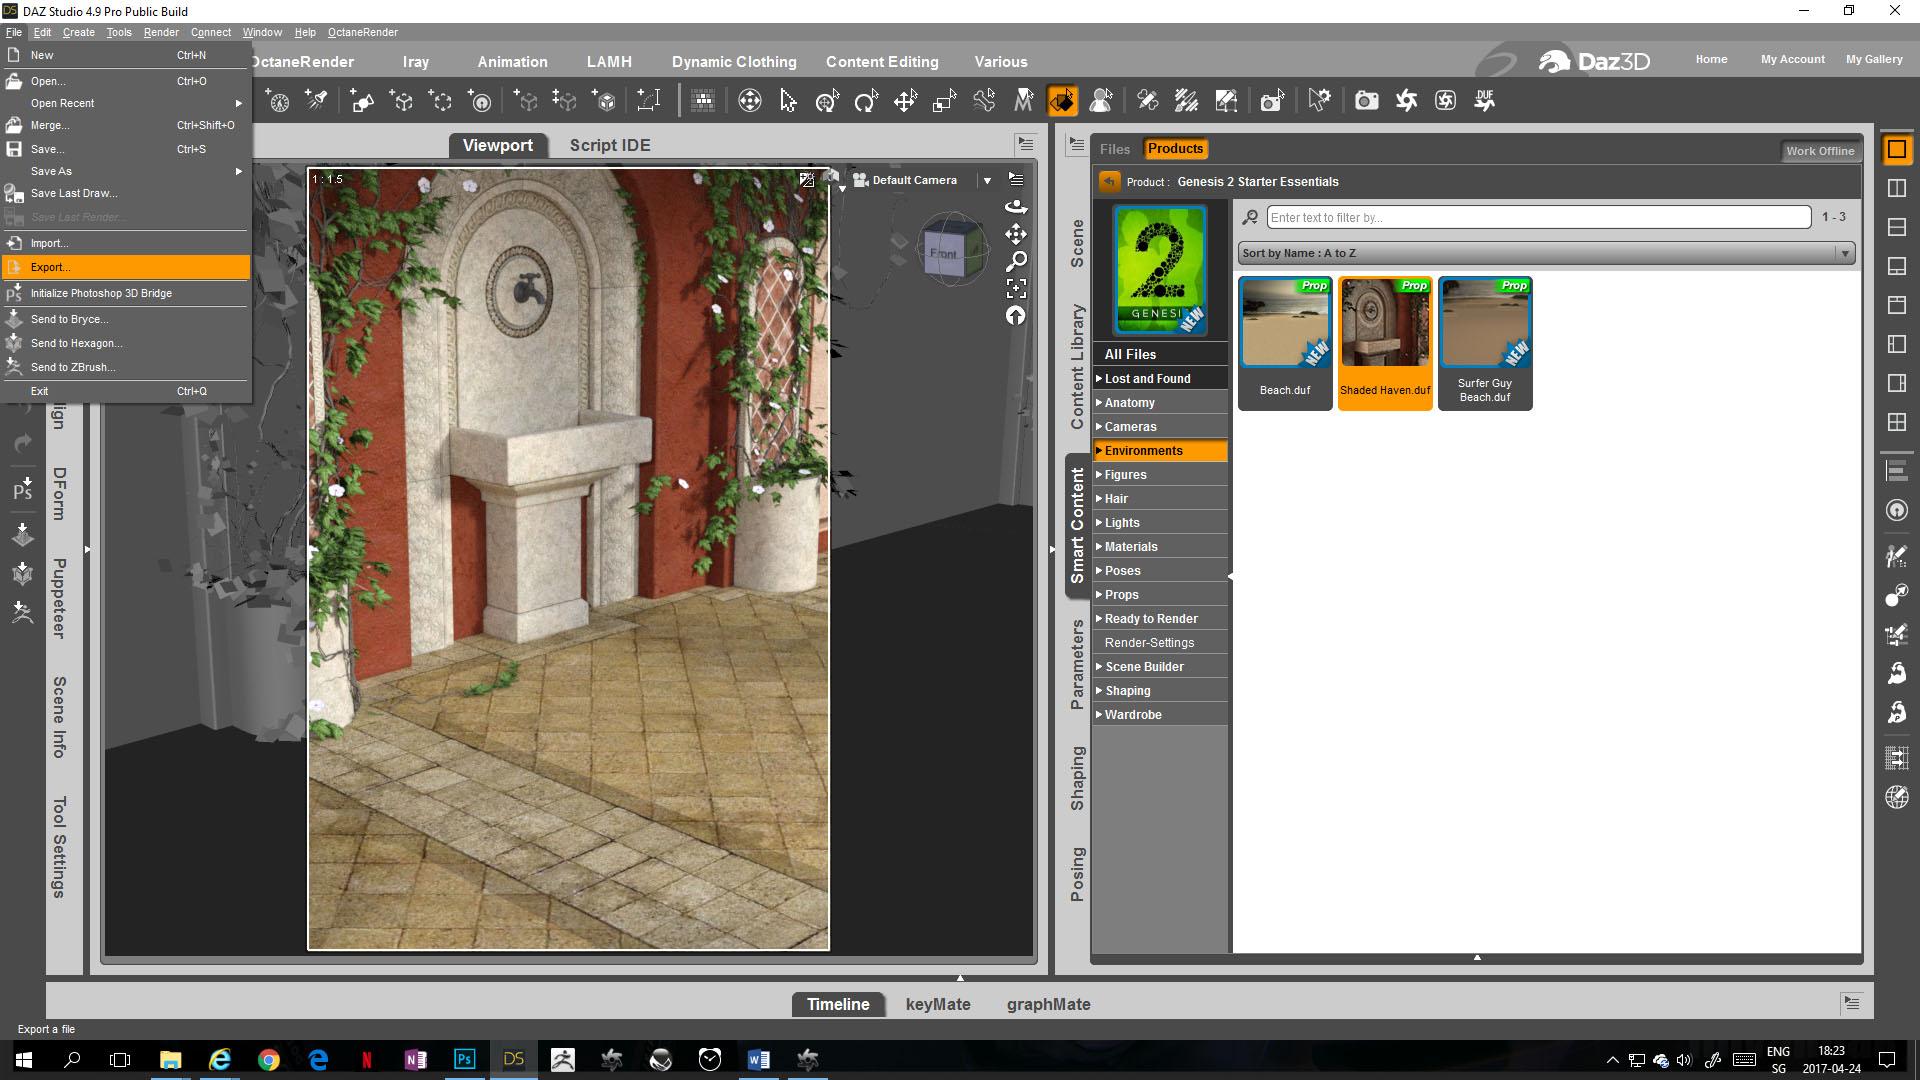
4) DAZ Studio: Export a scene as .obj
Export a scene you setup in DAZ Studio as .obj and save it to a location of your choice.
Example: Shaded Haven from the Genesis 2 Starter Essentials
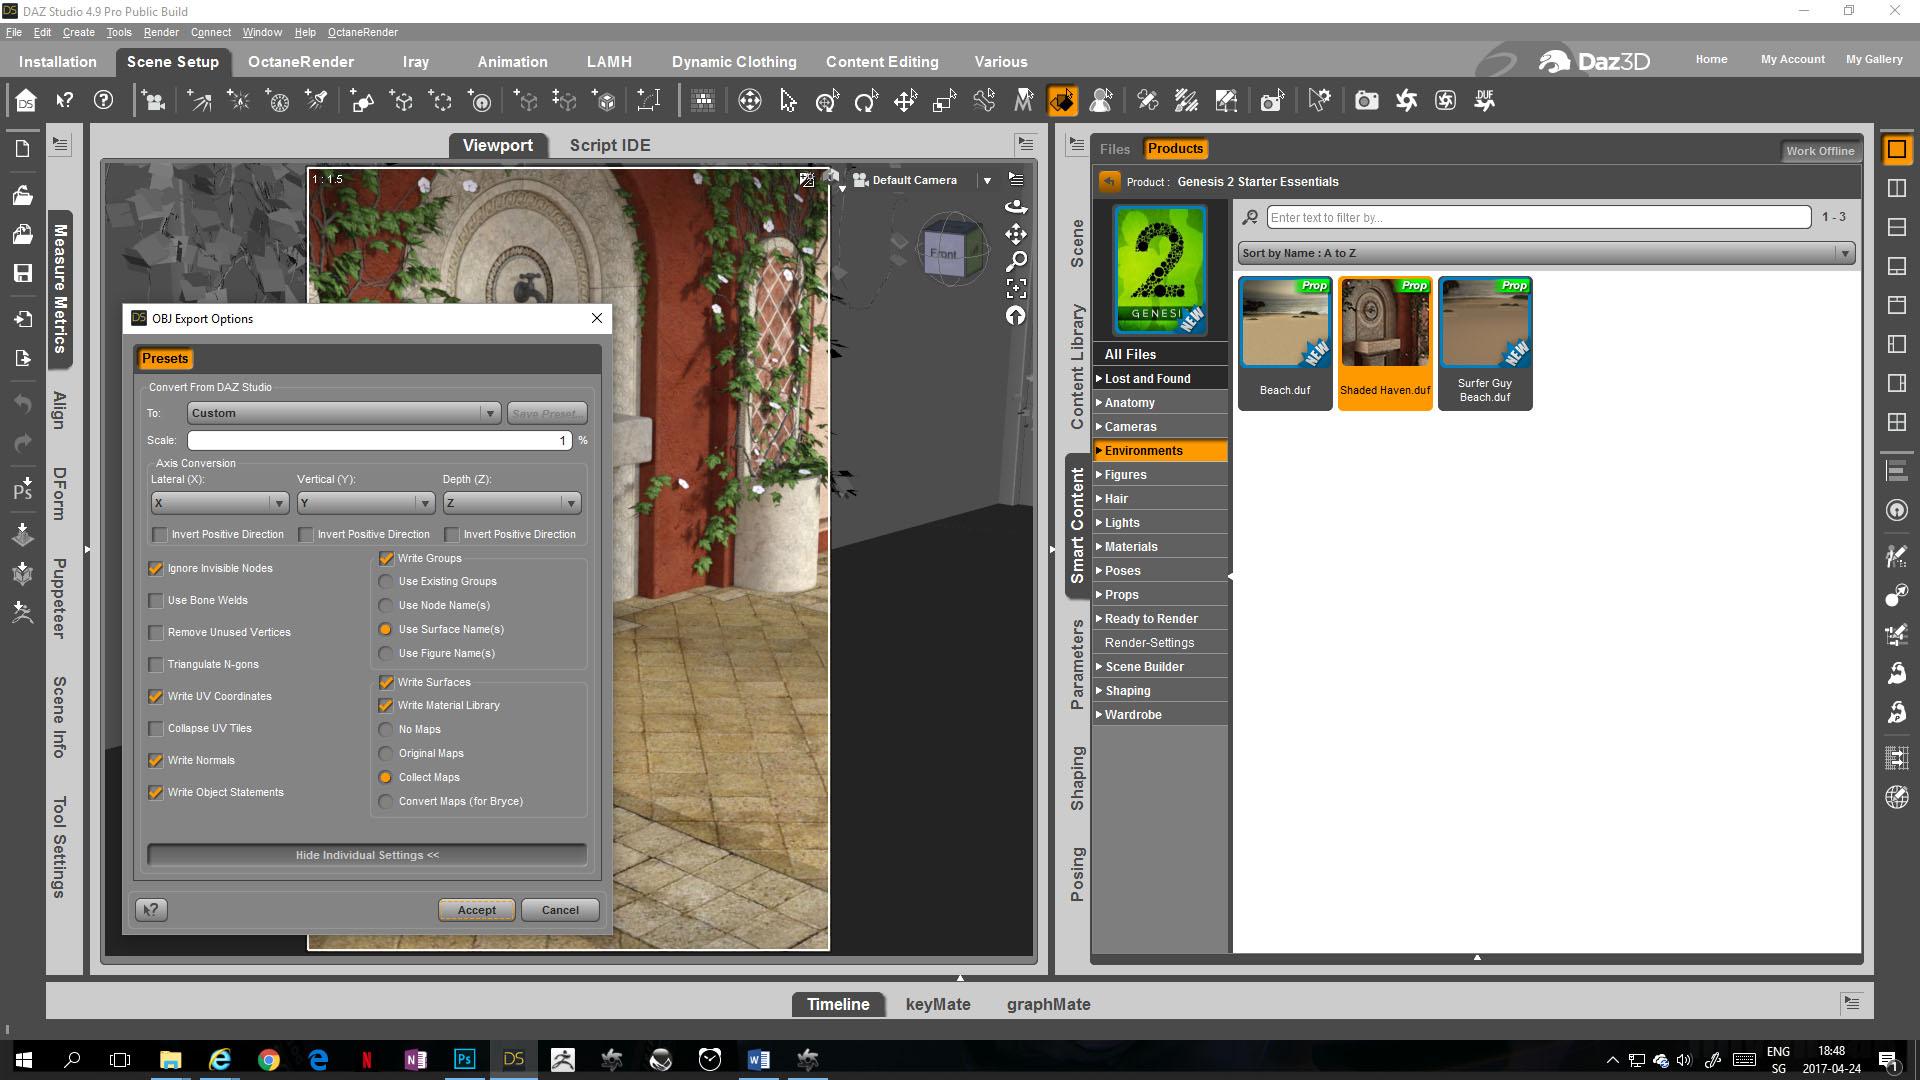
5) OctaneRender Demo: Select your rendering GPU
In the top left corner select
File/Preferences
Select Devices
Make sure the checkmarks are set for the GPU used for rendering
Remove the checkmarks for the GPU that is attached to your display
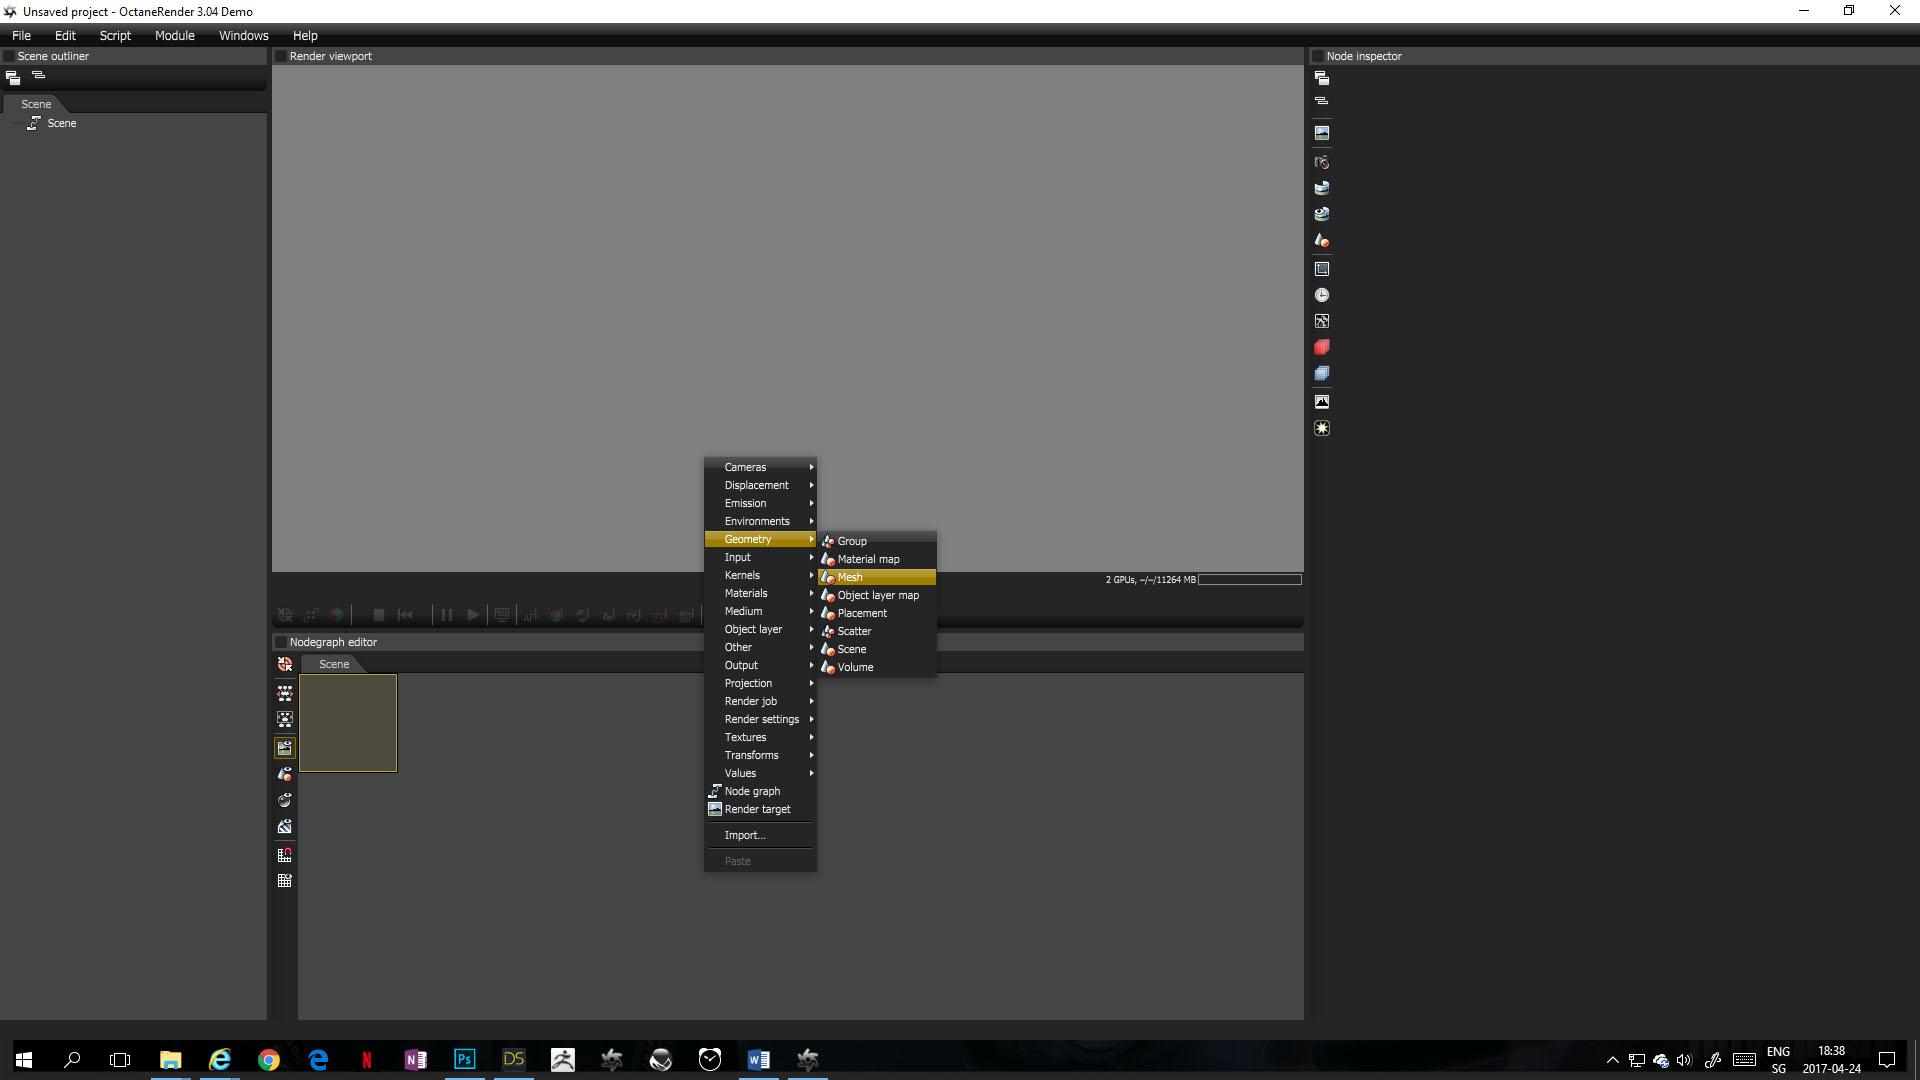
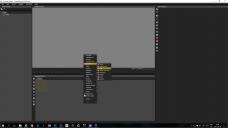
6) OR Node Graph Editor: Add mesh node
The Node Graph Editor (NGE) is the empty area below the viewport.
Right click in the empty NGE area and select Geometry/Mesh
Browse to the .obj you saved and open it
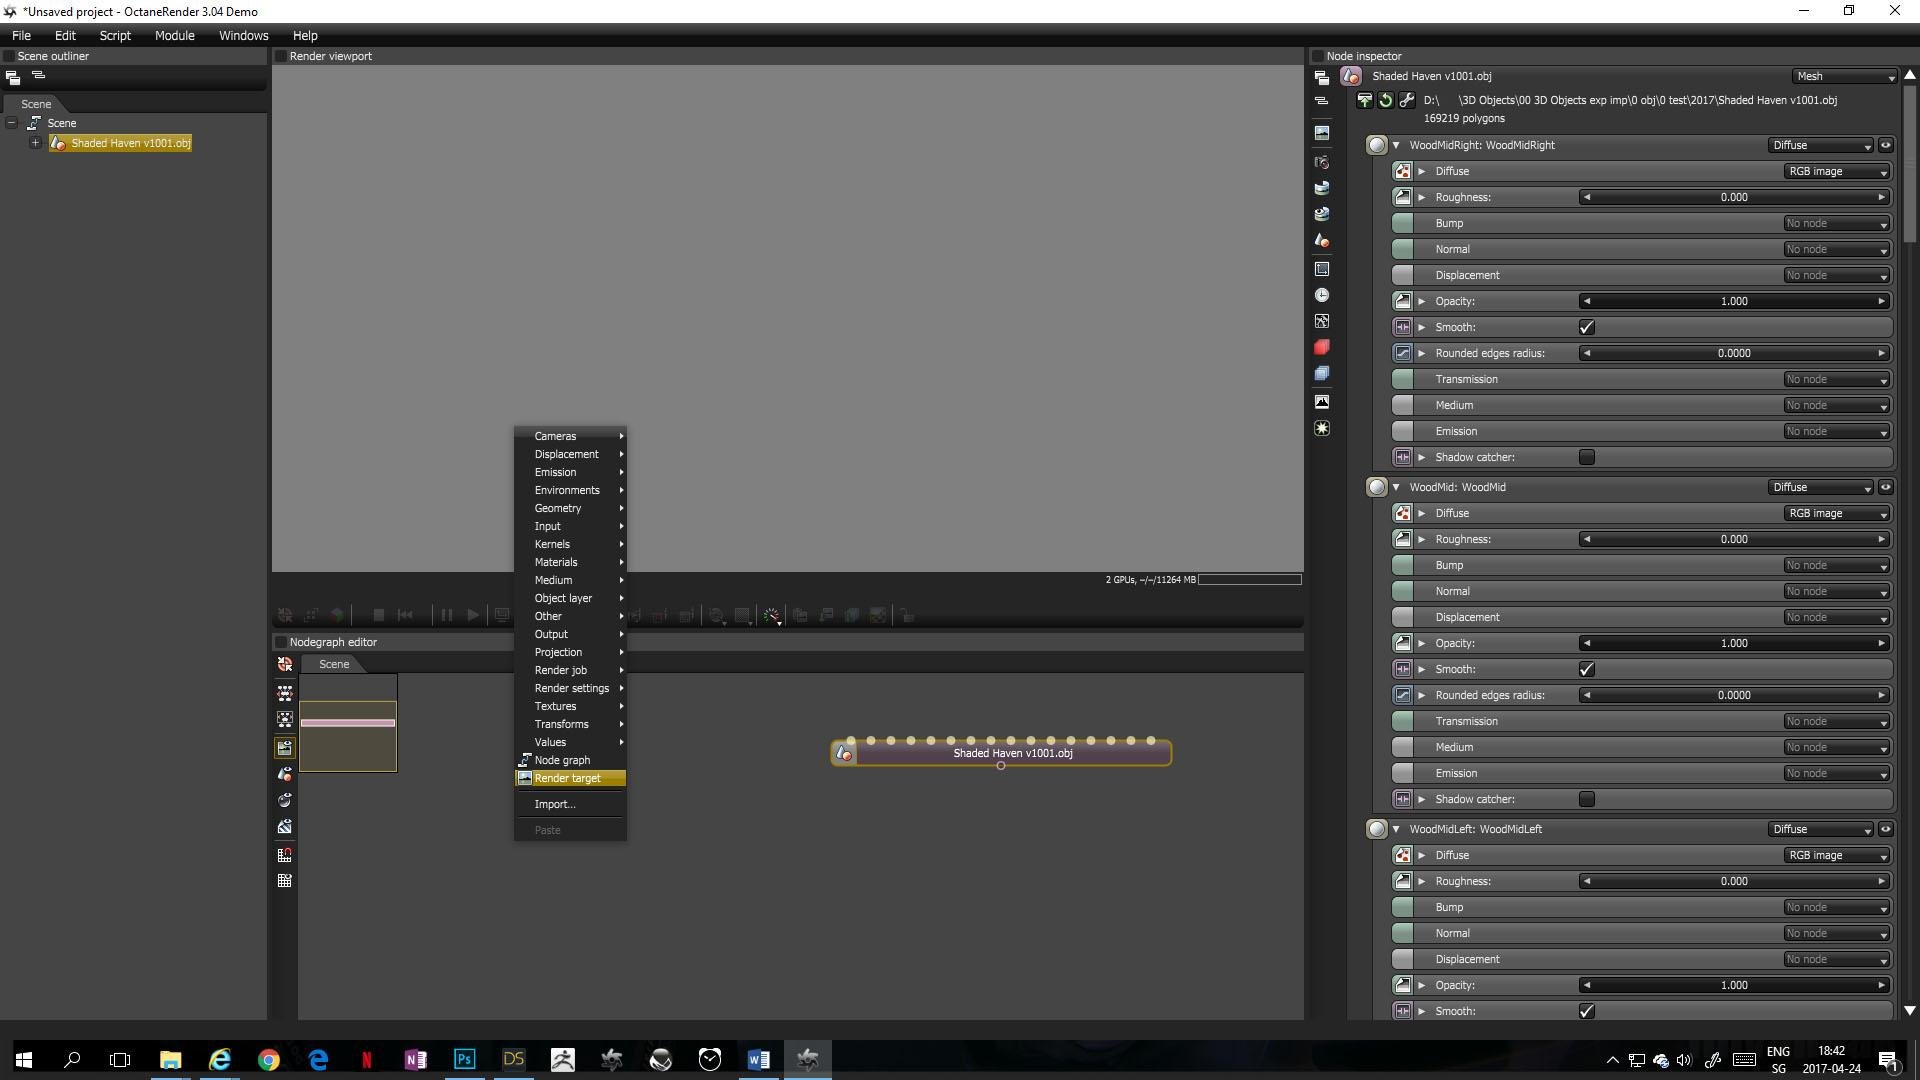
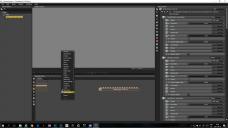
7) OR Node Graph Editor: Add a “Render target”
In OctaneRender the “Render target” is a node that contains all the settings you need to set up your render including camera, environment and kernel settings.
Right click in the empty NGE area and select “Render Target”
Draw a pin connection from the geometry node to the render target node
Left click on the render target node to start rendering
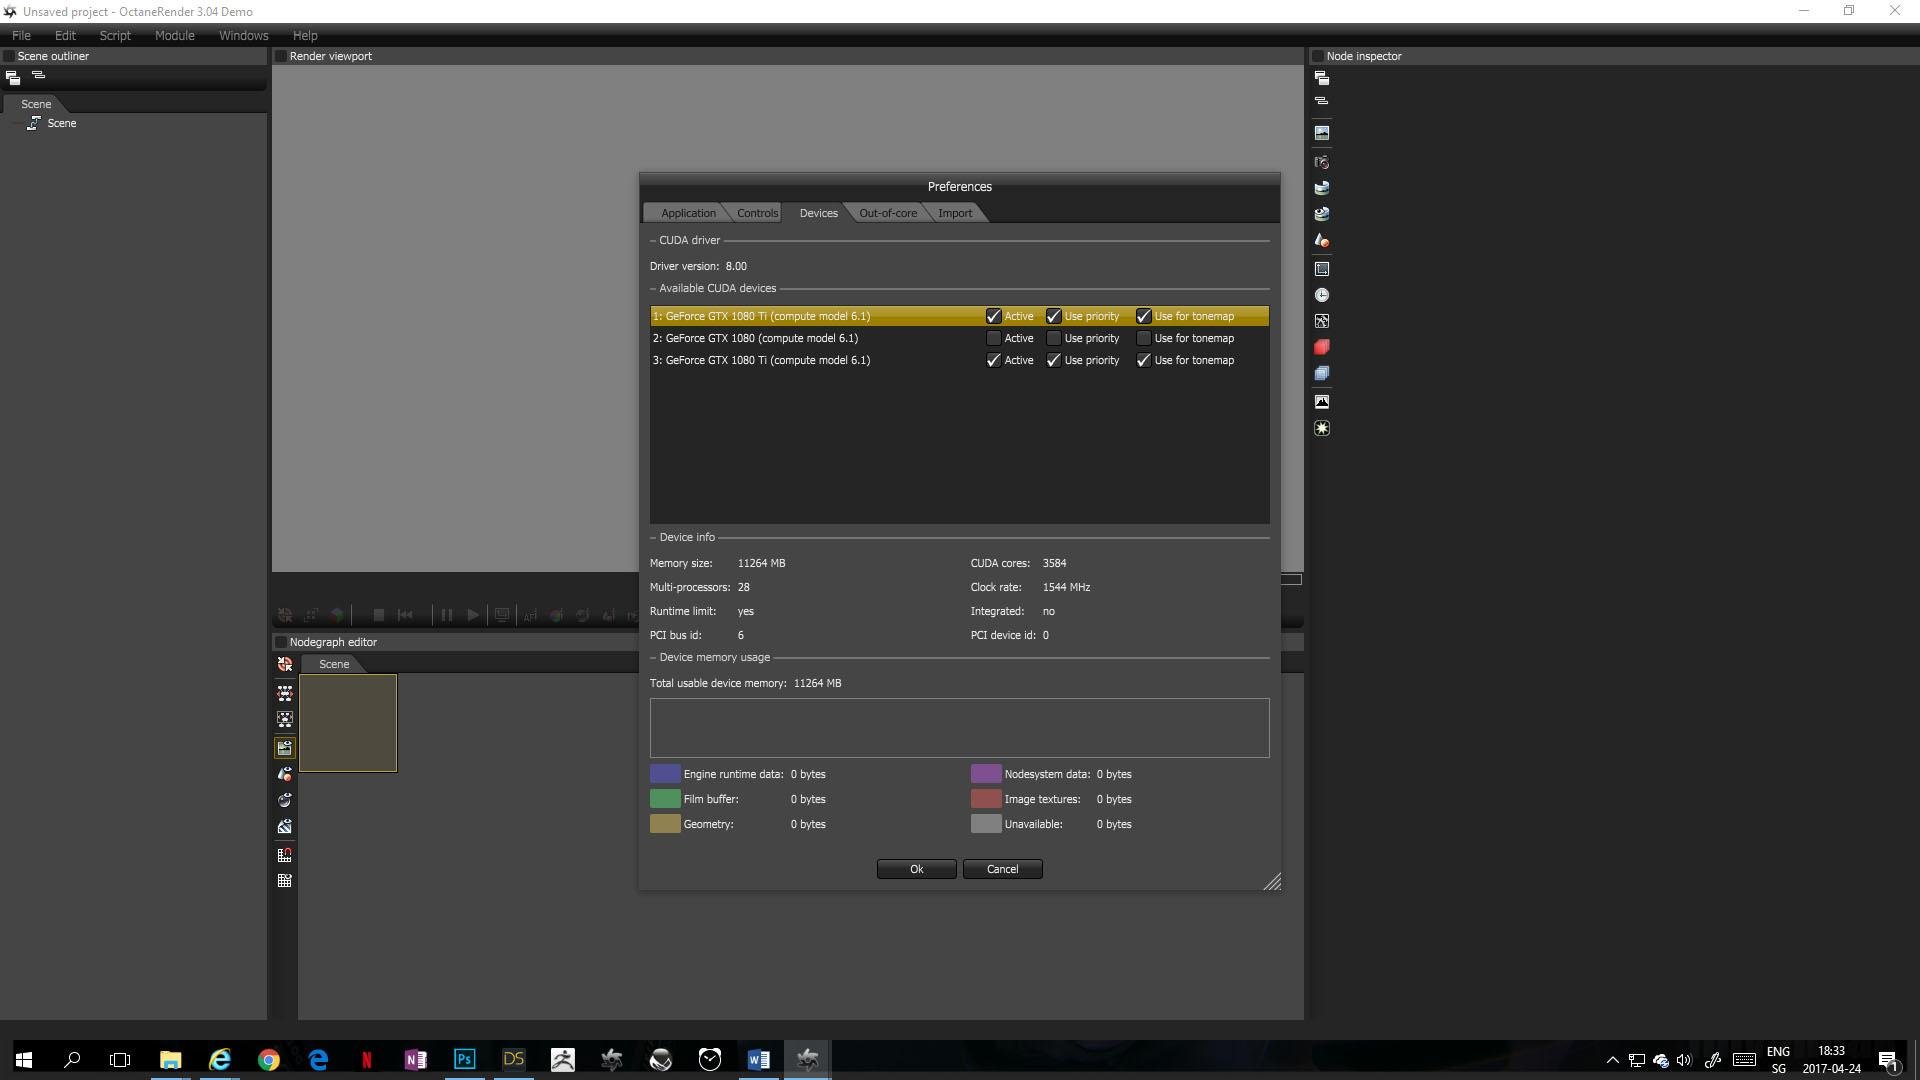
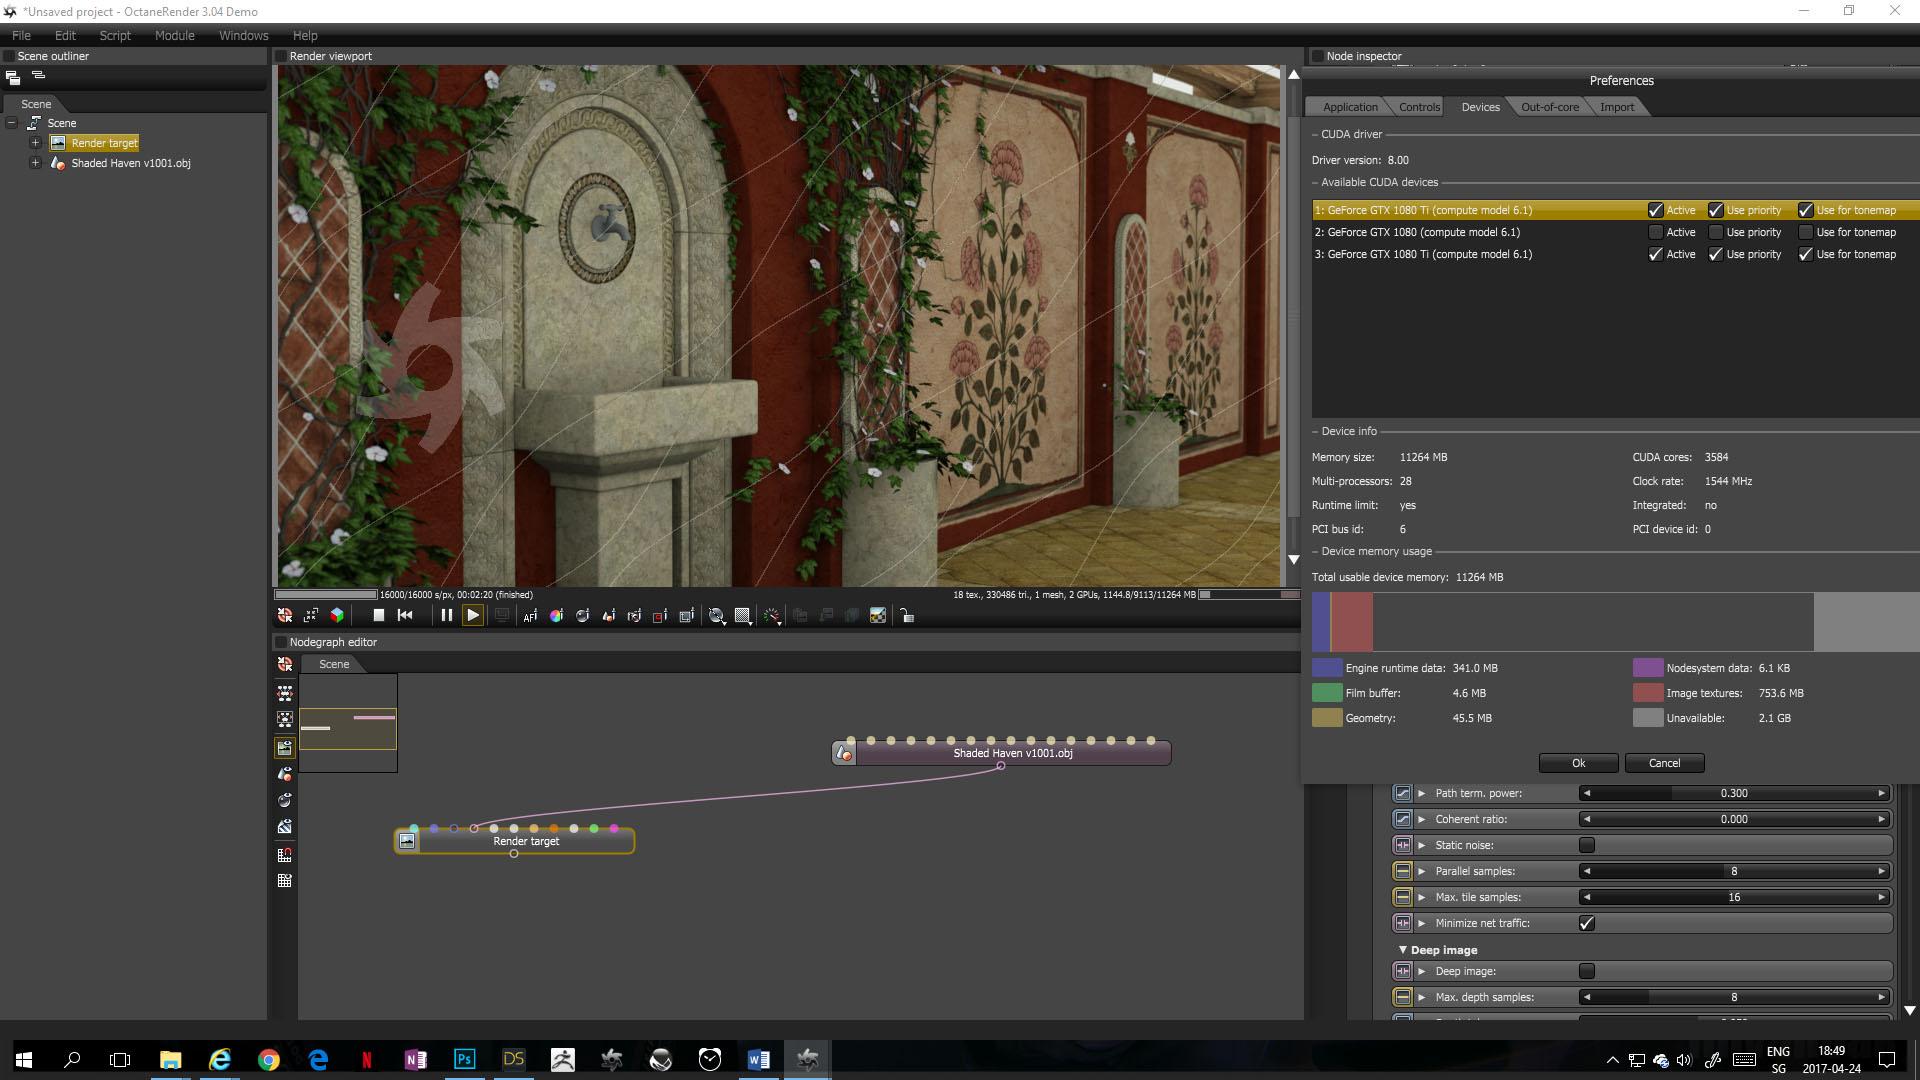
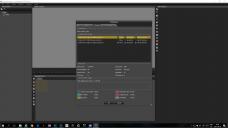
8) Display VRAM information
In the top left corner select
File/Preferences
Select Devices
Now you can see detailed information how much of your VRAM is used.
-
Engine runtime data
-
Geometry
-
Textures
-
Film Buffer
-
Node system
-
Unavailable
Done.
Now you should be able to tell exactly how much space your scene takes in the VRAM of your GPU.
- - -


Daz 3D is part of 
Connect
DAZ Productions, Inc.
7533 S Center View Ct #4664
West Jordan, UT 84084
Licensing Agreement | Terms of Service | Privacy Policy | EULA
© 2025 Daz Productions Inc. All Rights Reserved.